The quest of restoring a 40 year old HBX360 lathe continues..
Previously on this blog… Part 1, Part 2
Stay updated with Part 4
Electronics
To speed up the restoration we have decided not to touch the switch board (yet). Automatic circruit breakers and proper motor protection switches would be a great improvement. But before we embark on that journey the mechanical part and paint job needs to be tackled.
Well, mostly true…
Cabling
Most of the cables have suffered a lot during 40 years of service. We will replace them, add some cable end sleeves and cable pipes.
Control panel
The newer HBX360 version have a small control panel at the front. Our version comes without. Therefore we have decided to put together something very basic by our own.

Now we only need to find a proper position. We have not decided yet but for sure we need to avoid reaching over the work piece for operation.
Paint job
Stripping
All generally available paint strippers we tested did not really work well on the rigid 2 component paint used on the machine. After chlorcarbon had been banned from paint strippers another (equally strong) solution was needed…
The internet was again source for this solution. After some testing we have found the following mix to work well:
- 2/4 Formic acid (75%)
- 1/4 Acetone
- 1/4 Nitro paint thinner
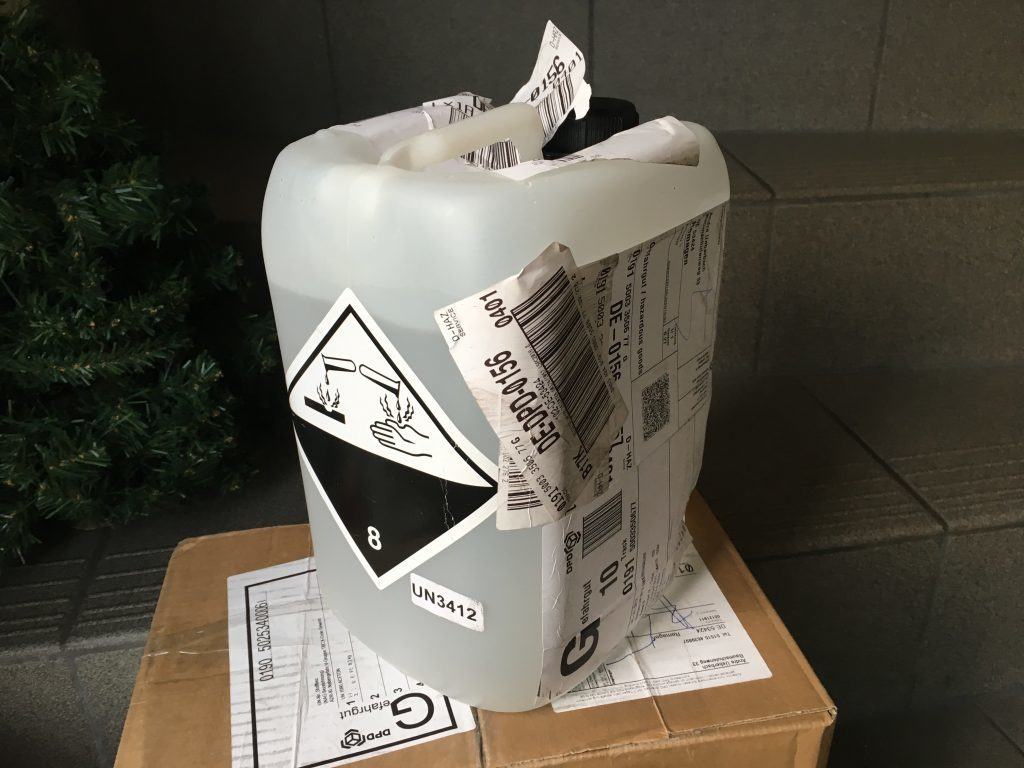
Bad packaging. 5 liters of 75% Formic acid without any secondary packing… I was honestly surprised that this package was accepted for transport at all.
To avoid fast evaporation of the stripping solution the metal needs to be covered with clutch foil. Still good ventilation is required at the workplace.
Chemical pain stripping is a great alternative for old machines compared to the physical removal. Some 40 years ago when this machine was built most paints contained a fair amount of lead. Blasting with sand, dry ice or scrubbing with a steel brush causes a lot of dust which is cumbersome to dispose. Transporting the machine parts to a professional site was not an option either – at more than 1,2 tons this will not come cheap.
Paint job
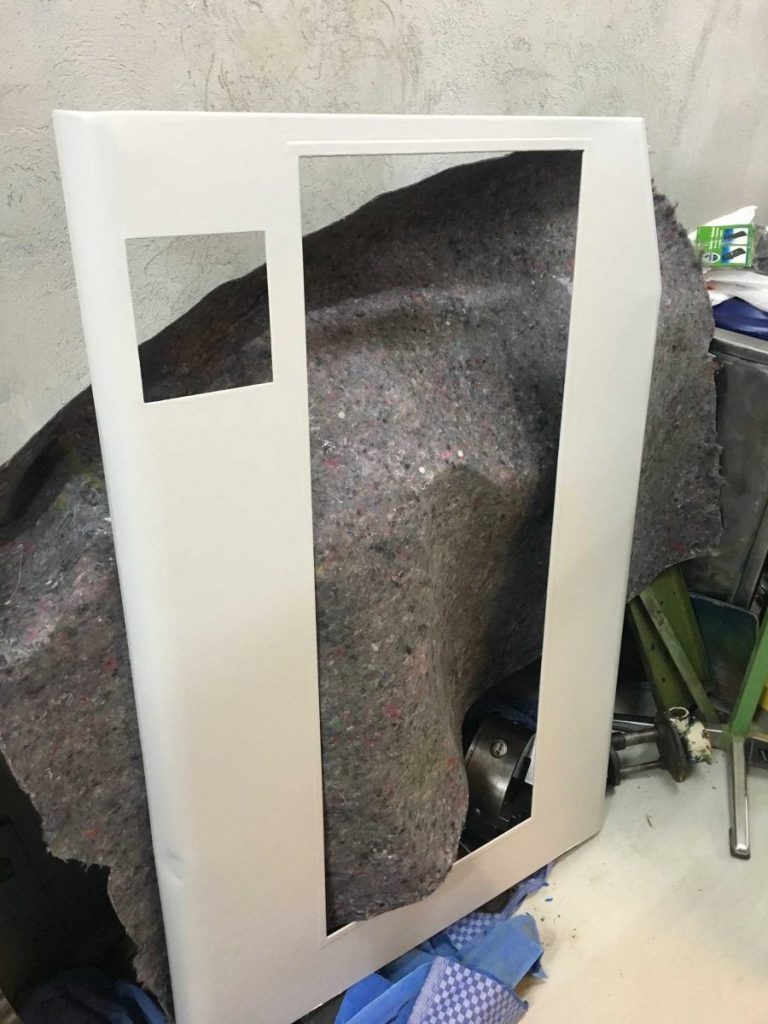
My girlfriend also wanted to contribute to the project and took over some of the painting. The result turned out to be really great – especially on the side panel and door. Both parts which will be well visible later on.
The remaining parts will have to wait a few weeks till end of January. As some spare parts are jet to arrive and some others are waiting for rework we cannot put together the machine anyways.
Assembly
Slowly we can think about re-assembly. At least for some components of the lathe.
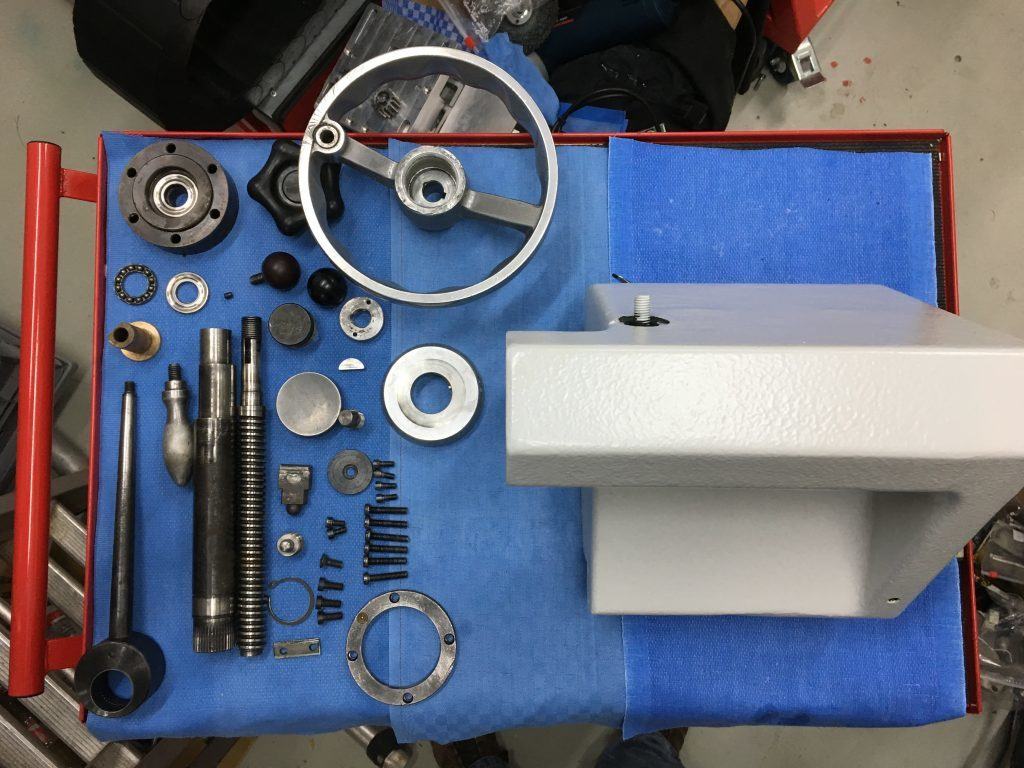
We start with the tail stock assembly. It has already been painted, all parts are clean and have been thoroughly inspected.
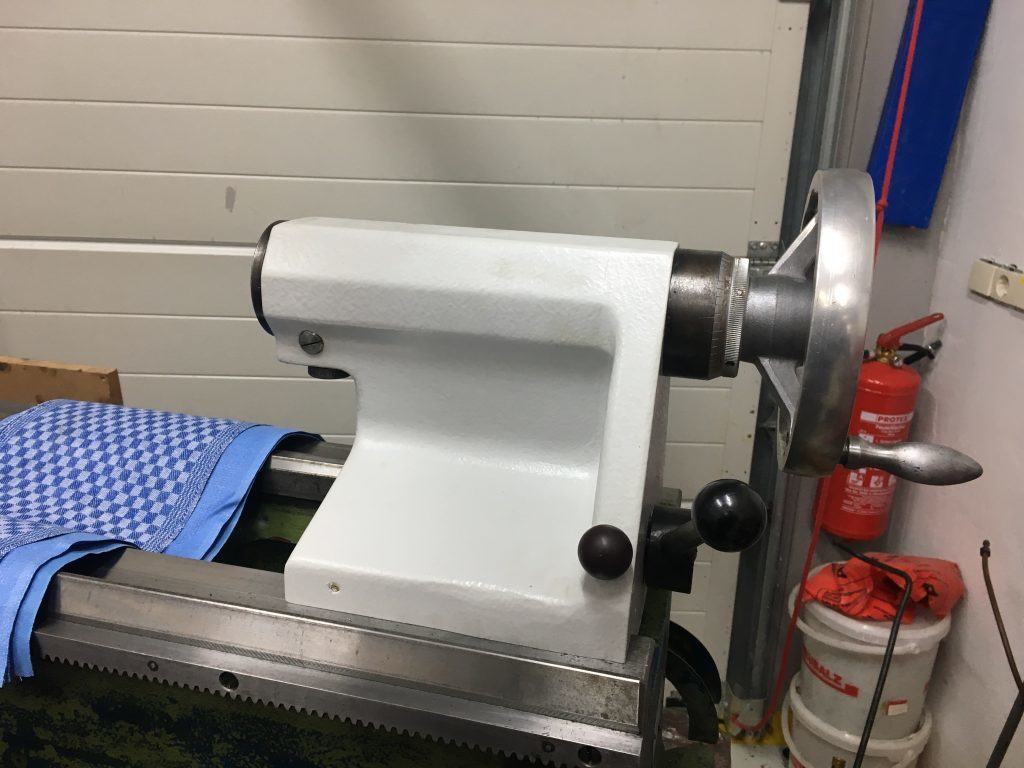
After about one hour (and some rework) the tail stock looks almost brand new again.
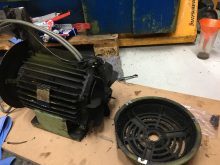
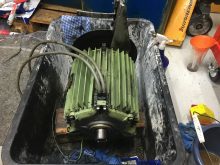
Before and after. The main drive motor.
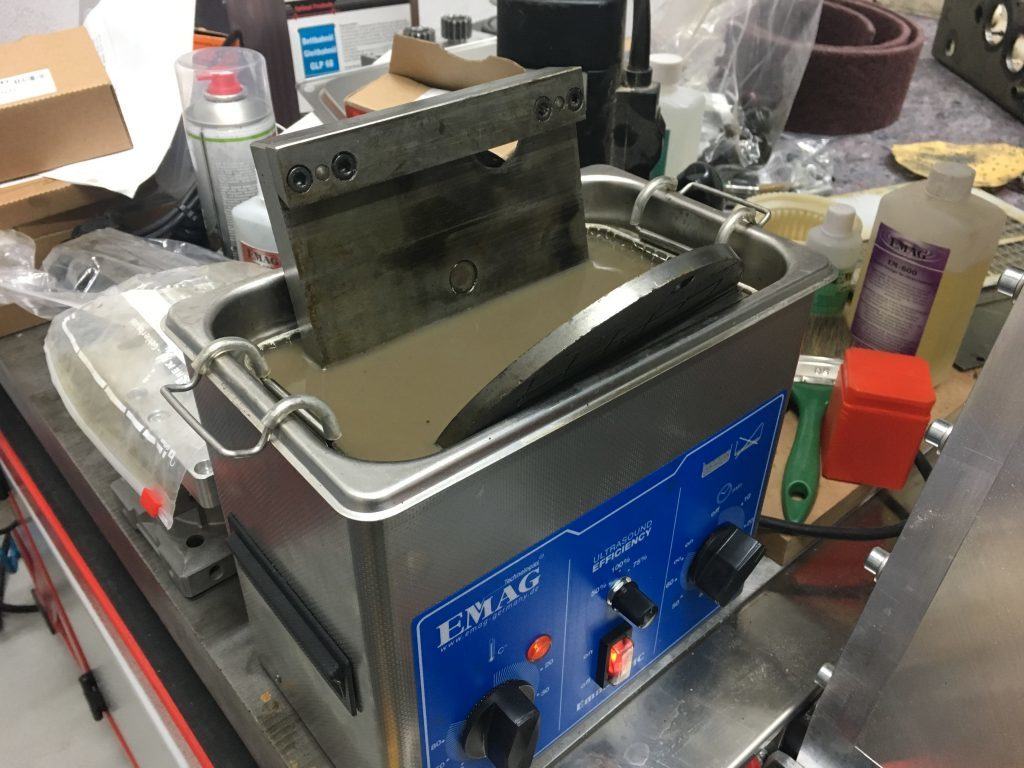
In the meantime we got used to the sound of our newly acquired ultrasonic cleaning bath. Until all parts are nice and clean again we will have to listen to that sound for countless more hours I am afraid.
Compared to cheap cleaning bath the speed and cleaning result of this German made product is superior. Well invested money…


No Responses