Another update on the Cazeneuve HBX360 lathe “sub-project”. So far we have used much more time than planned – but – slowly the pile of junk starts to look like a lathe again.
Previously… Part 1 Part 2, Part 3, Part 4
[toc]Paintjob
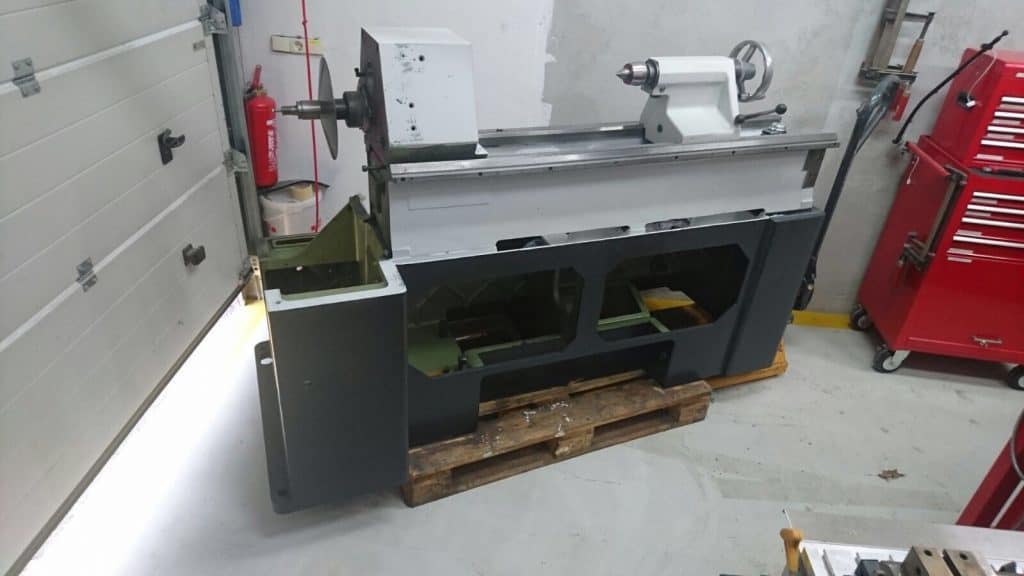
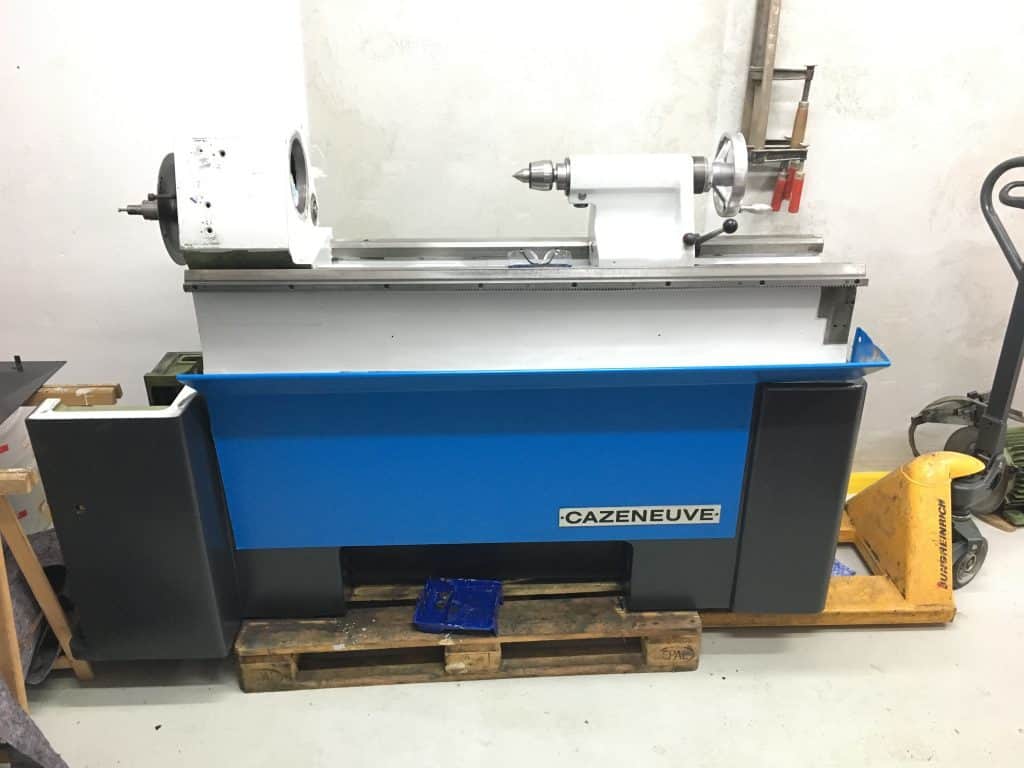
Fabian started to paint main machine body. The combination of light grey (RAL 7035) and black grey (RAL 7021) looks amayzing.
Consumption so far: 1Kg MIPA 2K paint. Total consumption will be around 7Kg.
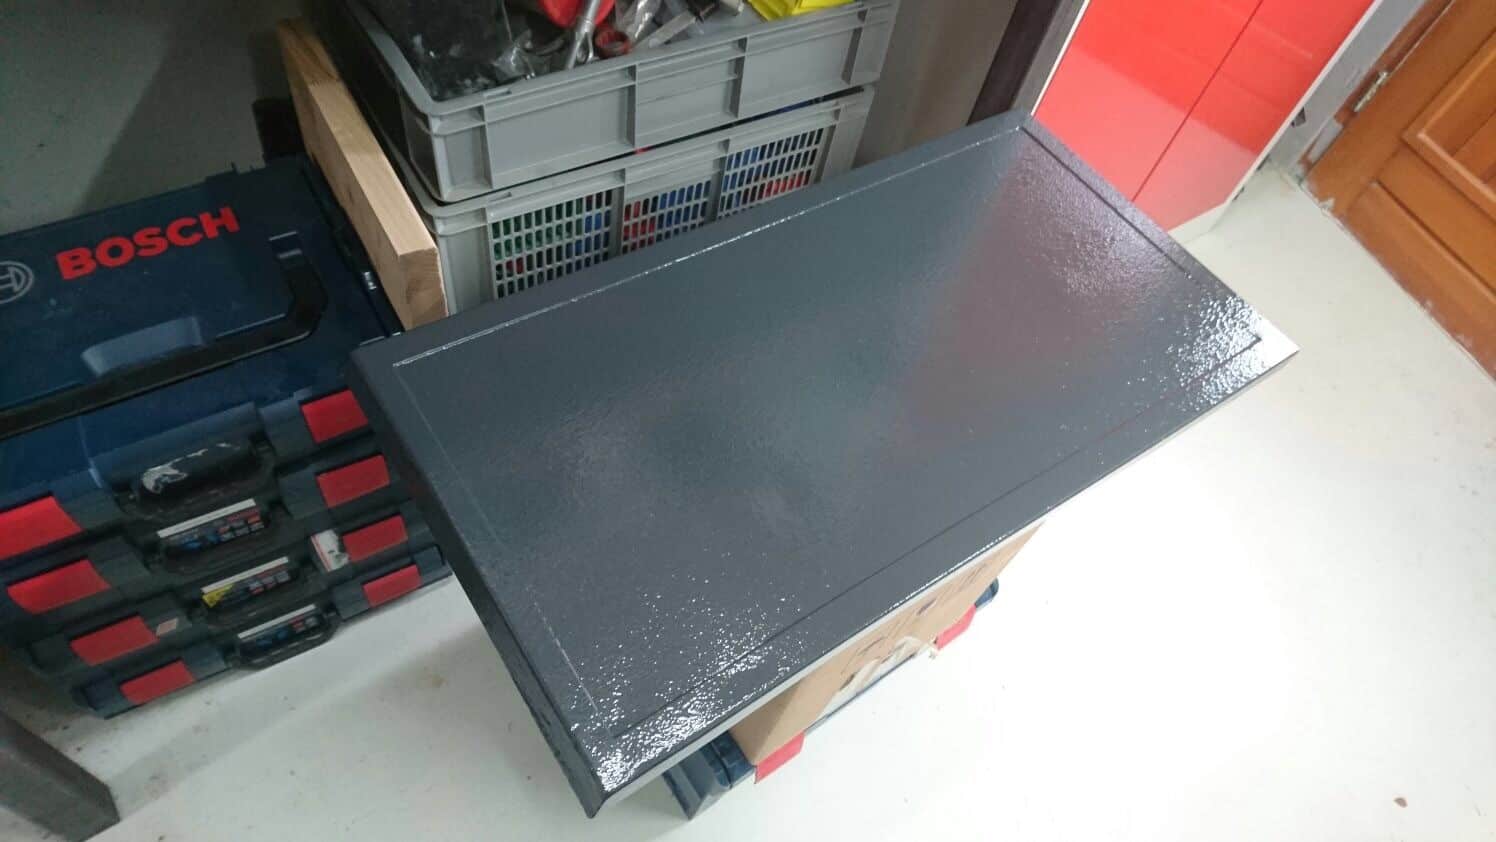
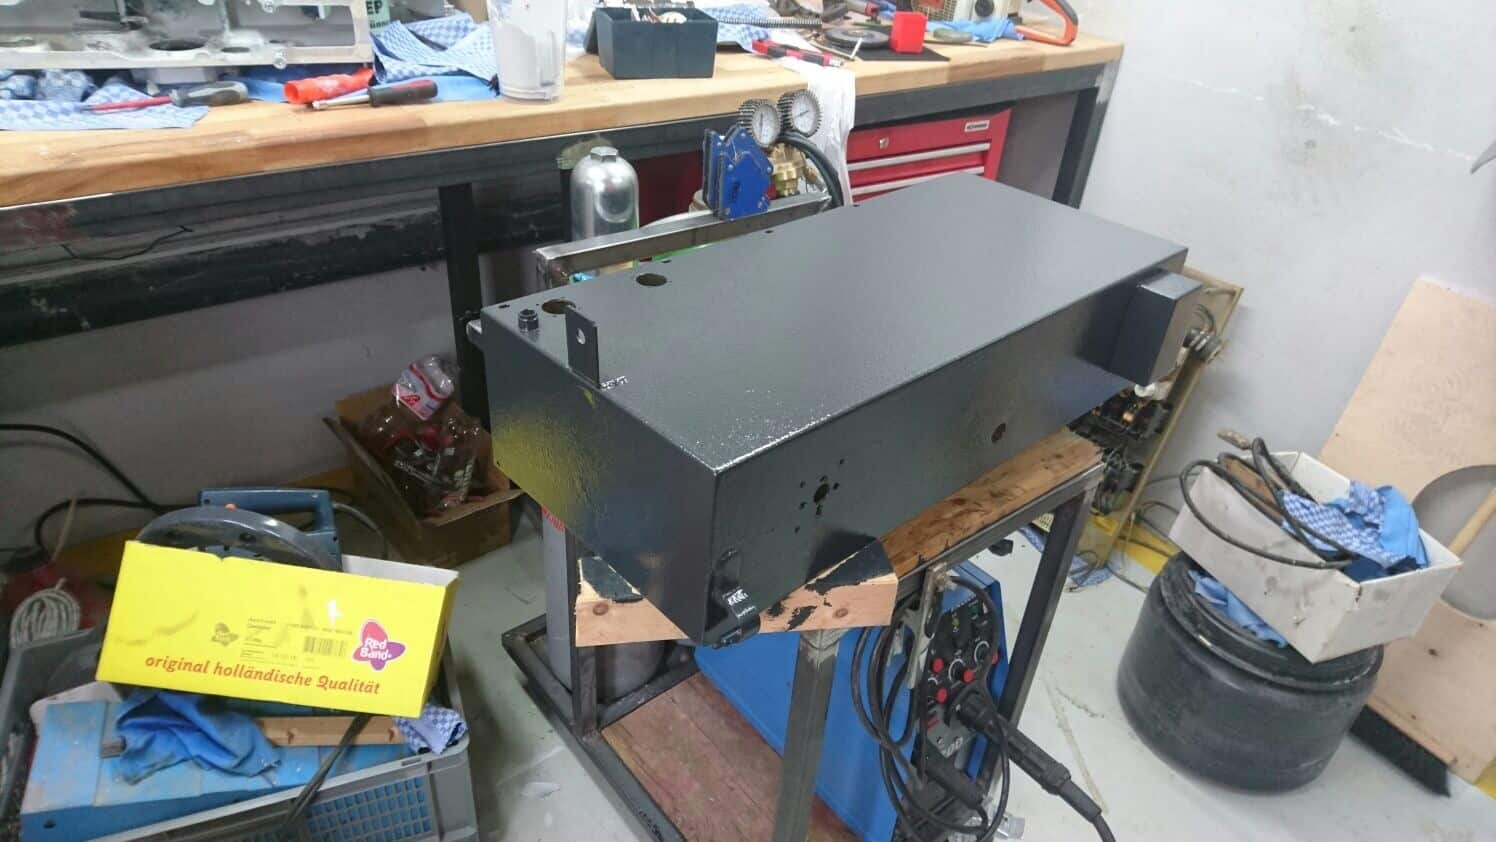


Some more examples of successfully rebuilt parts:
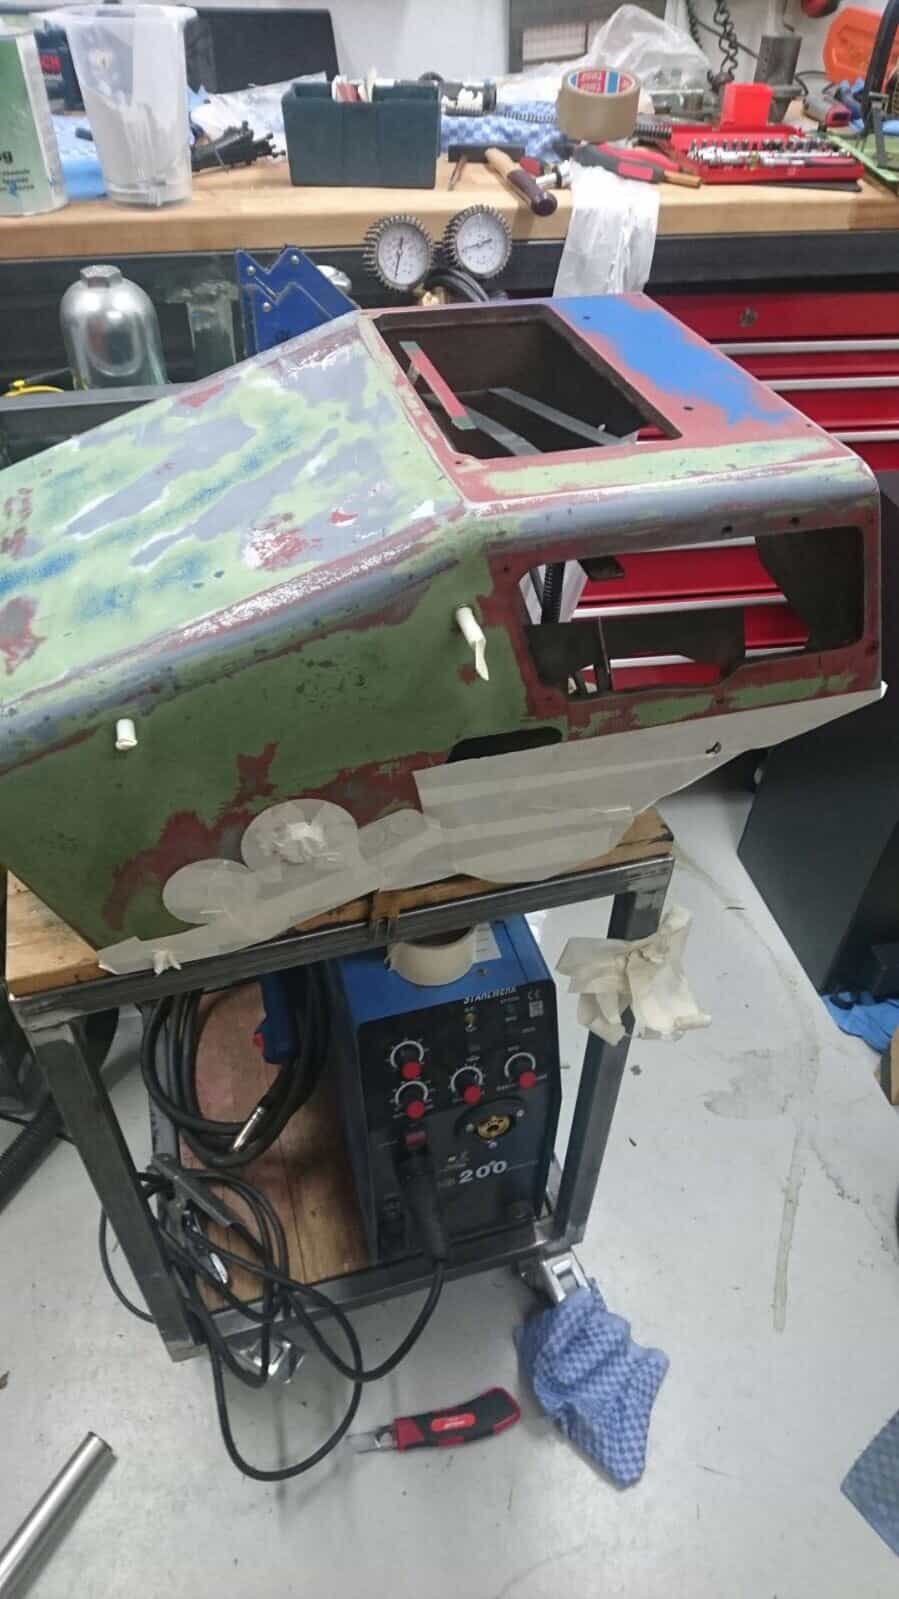
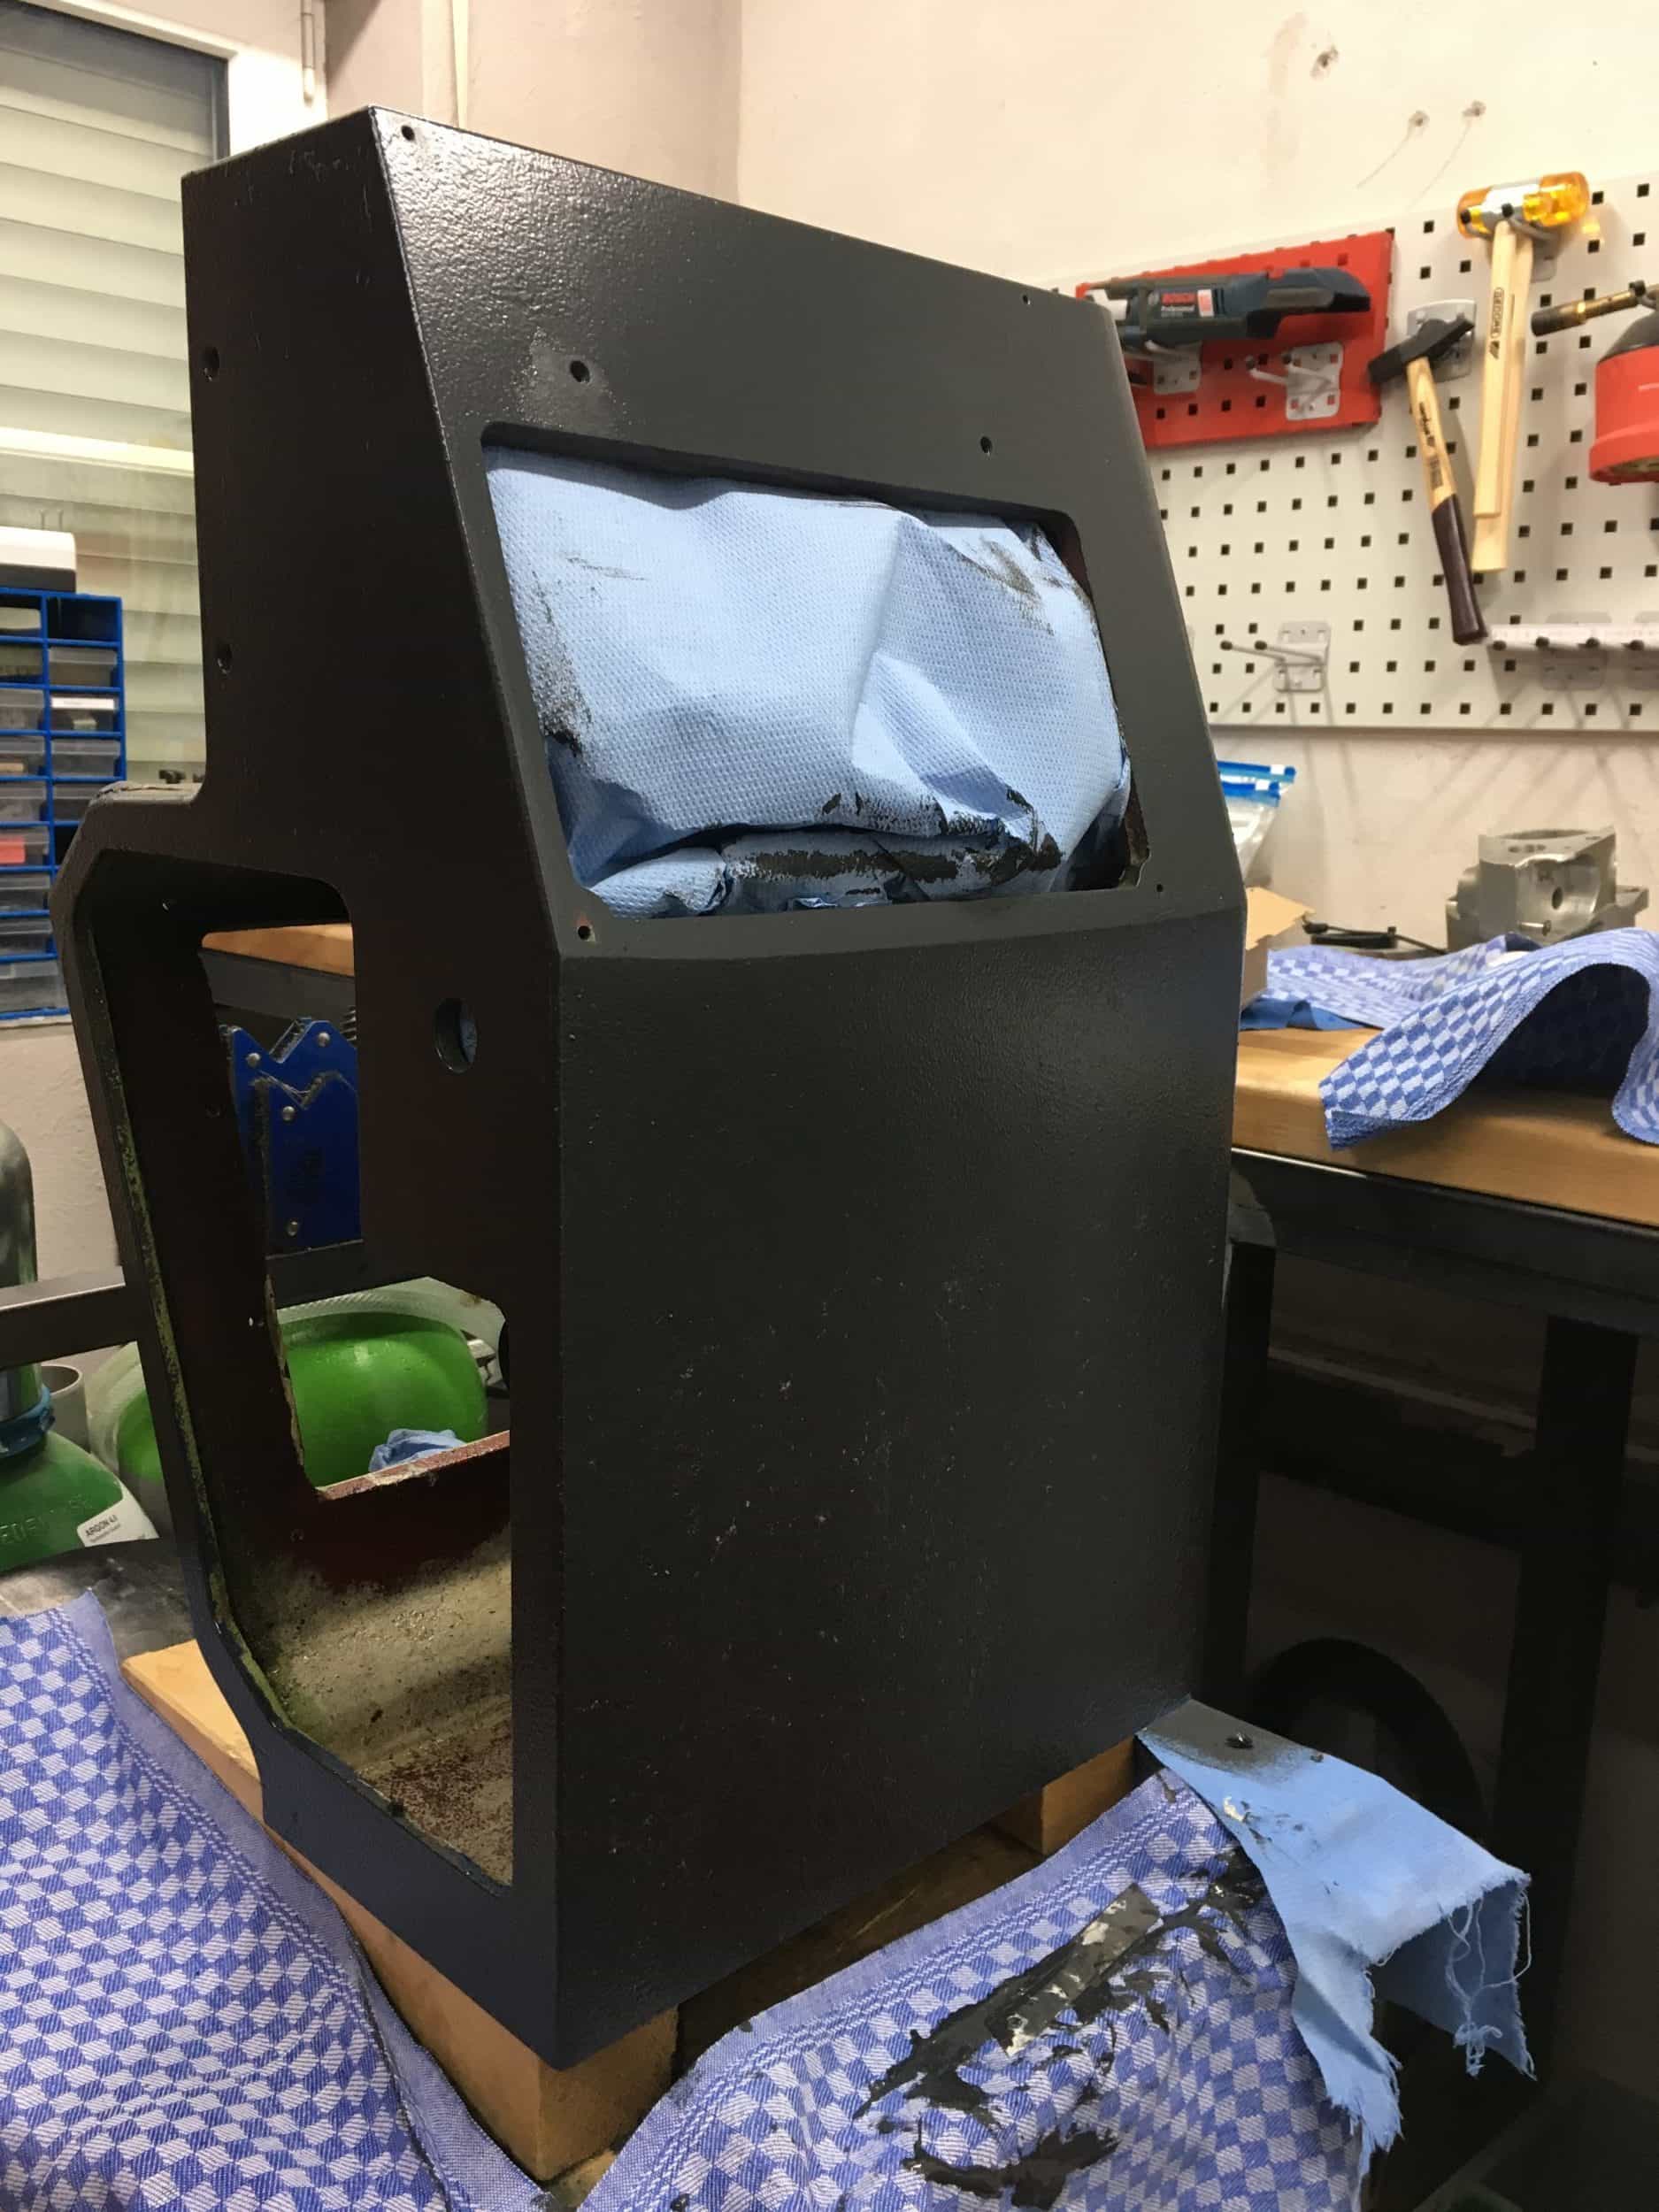
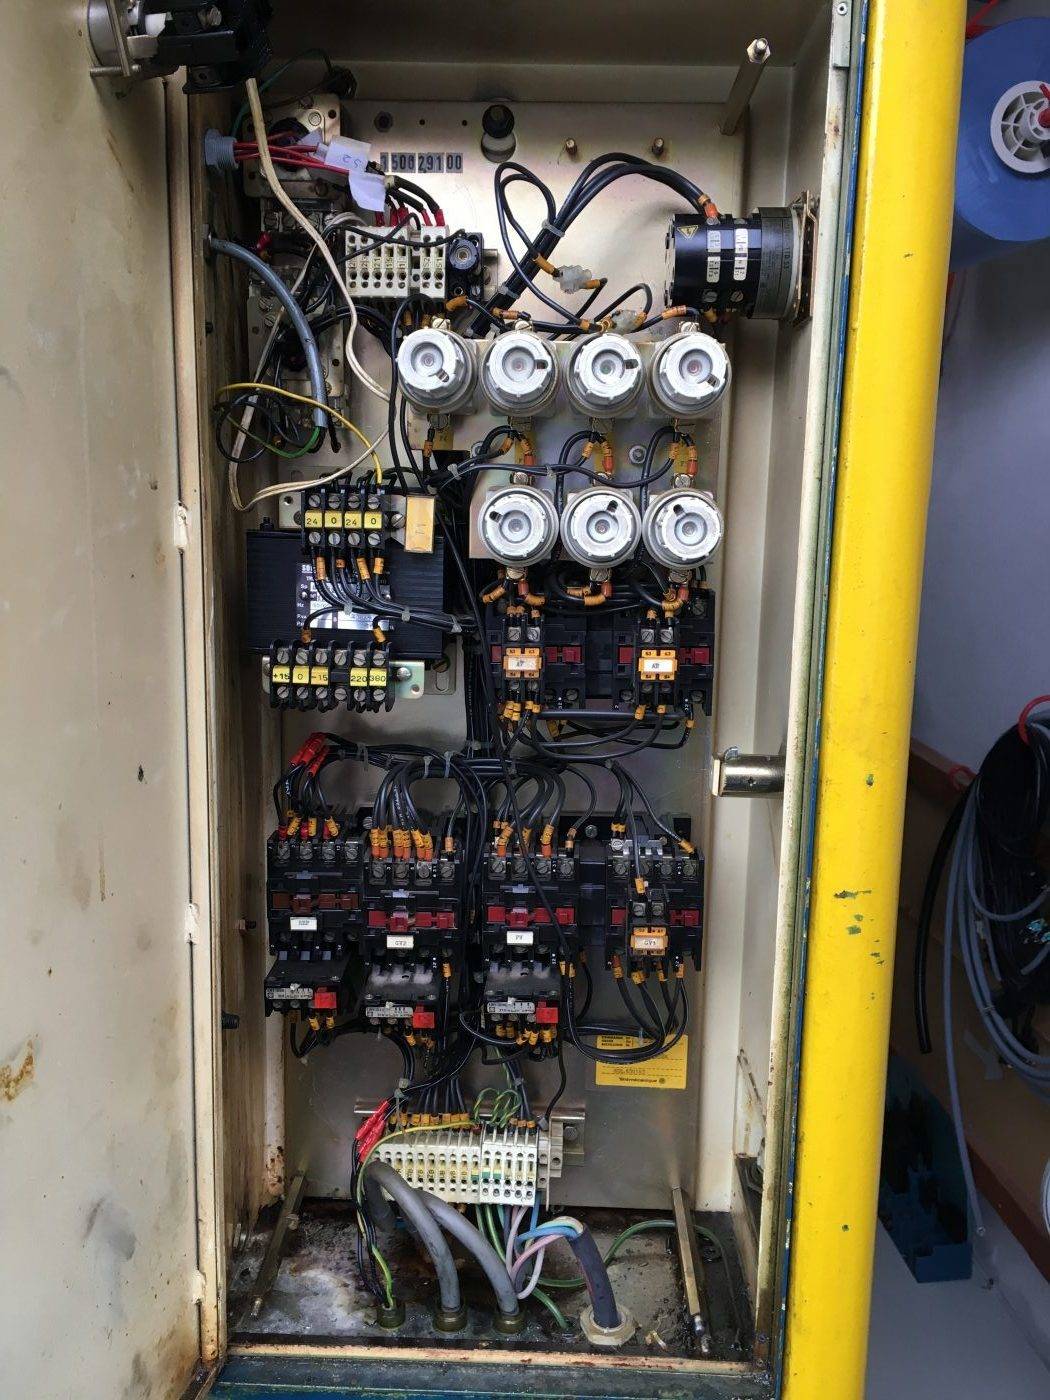
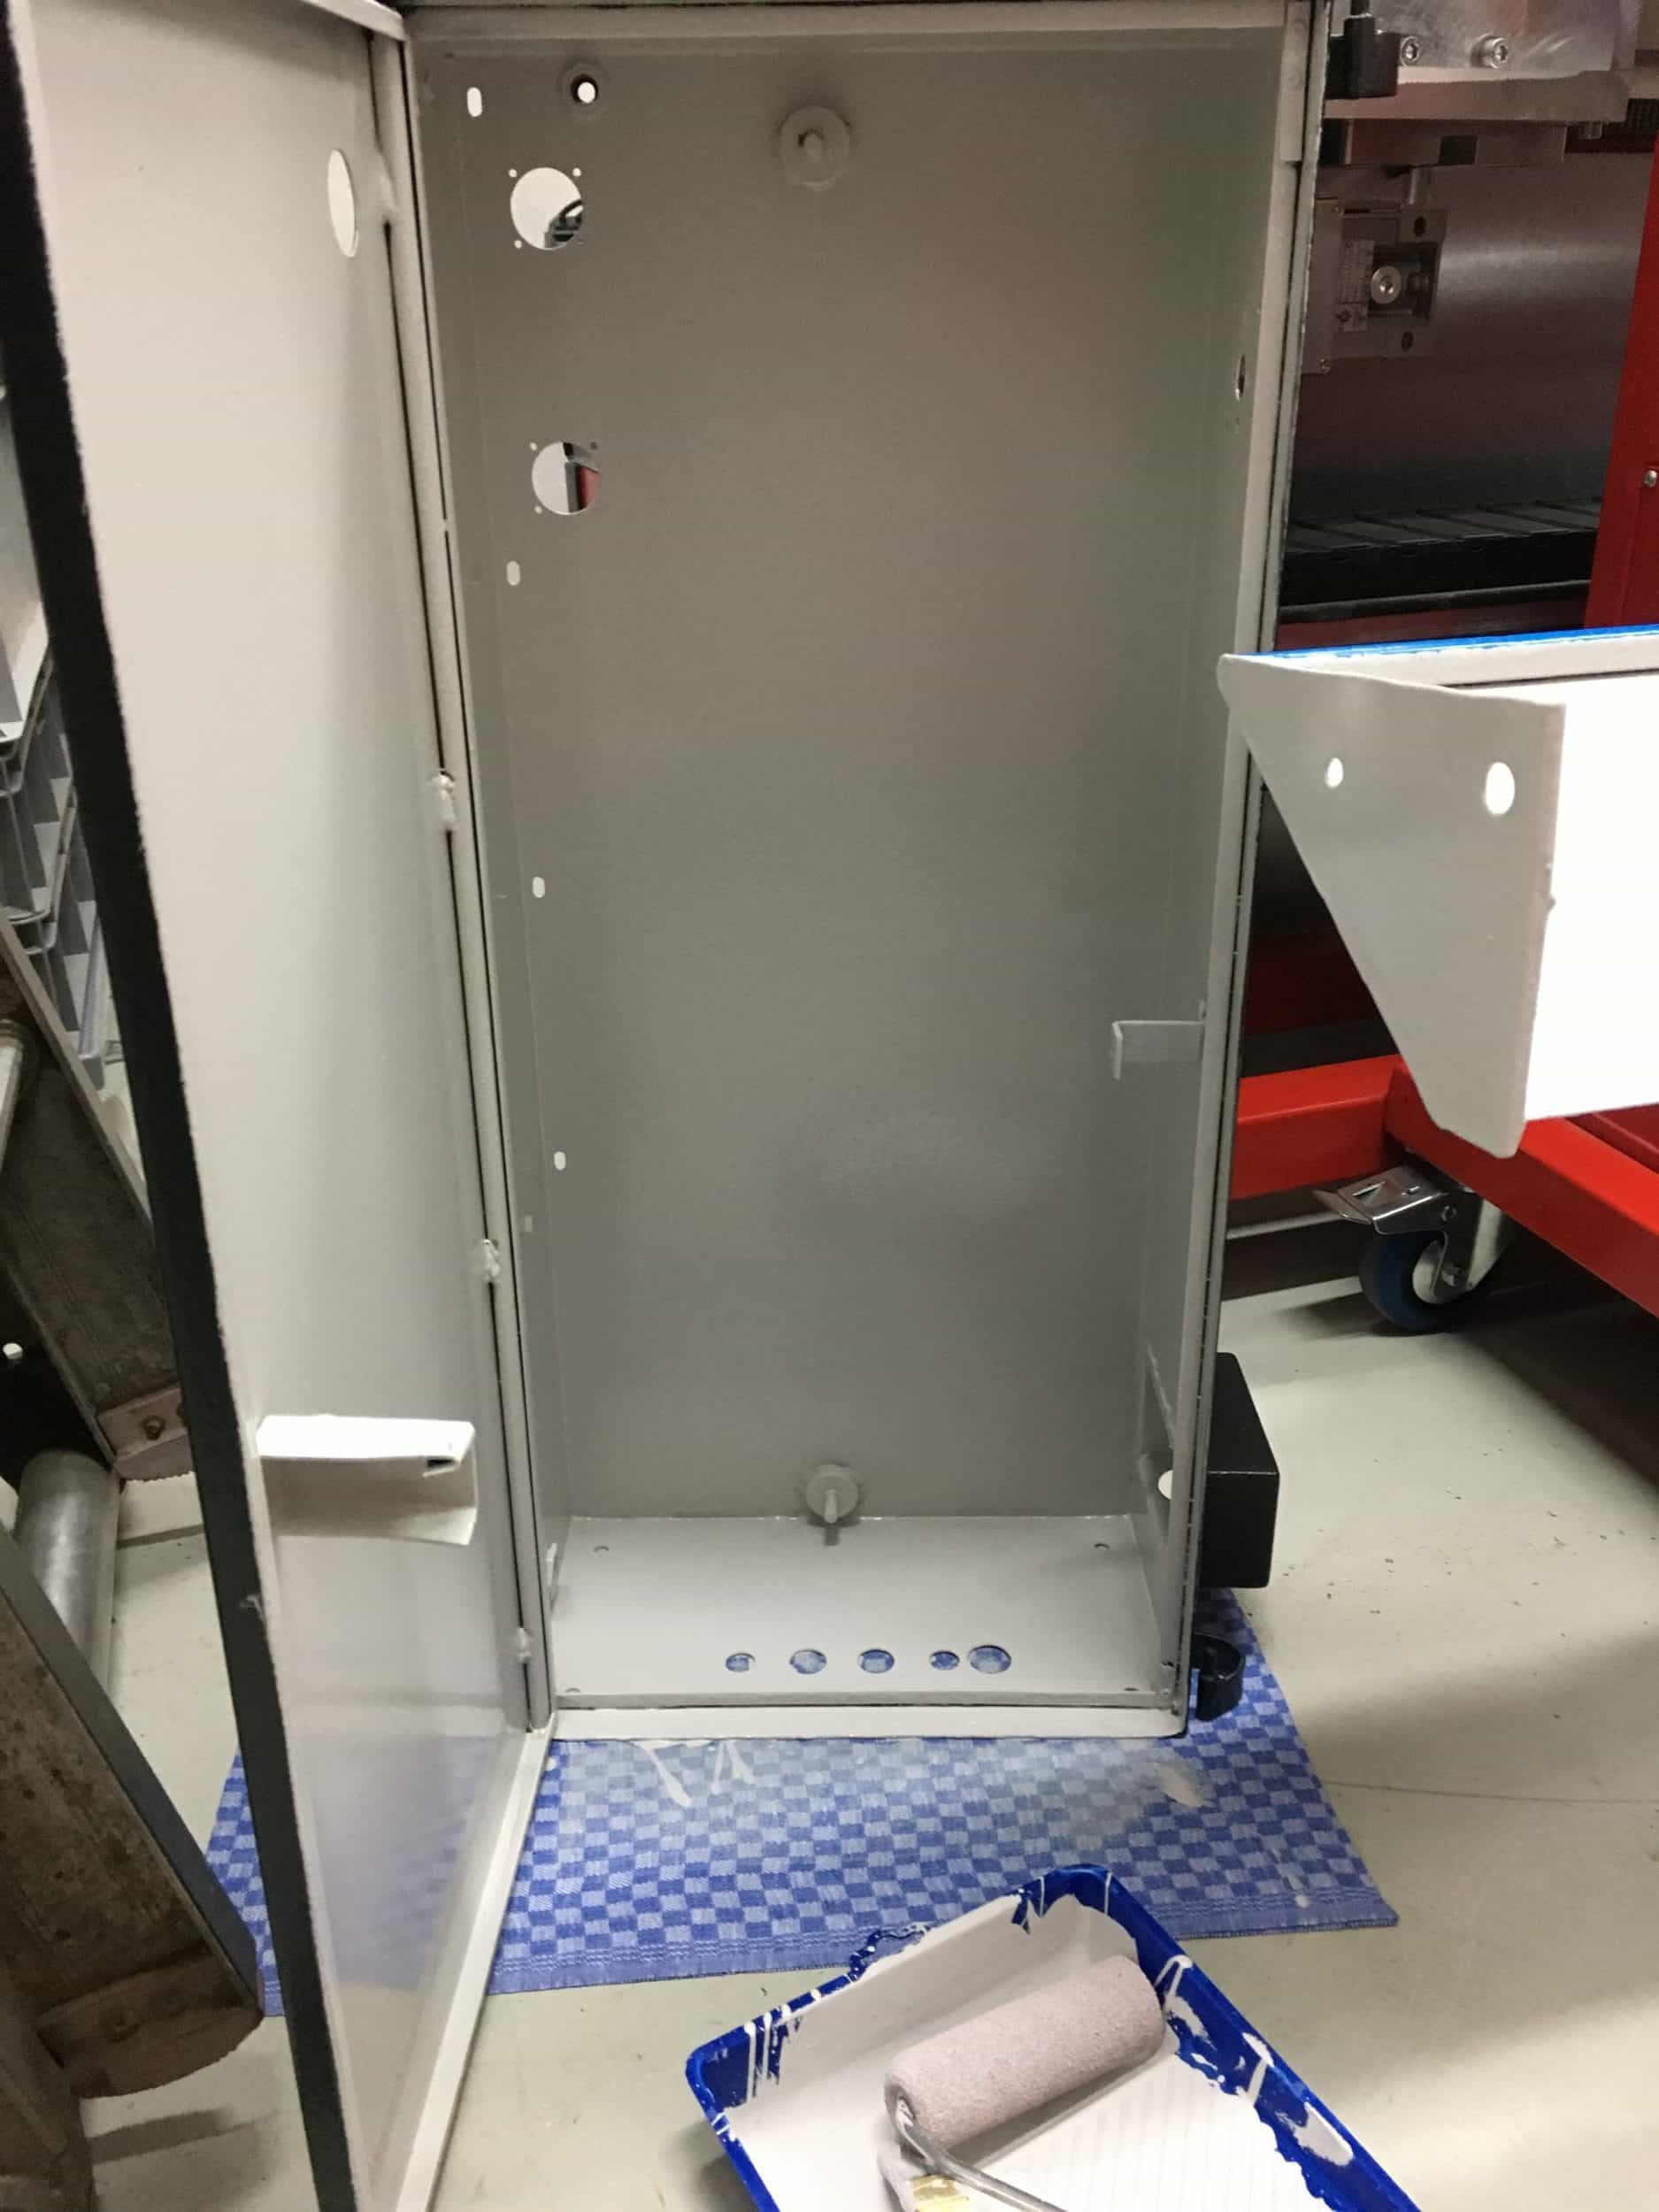
Also the electrical switch box looks like new again. Left: Before sand blasting and re-painting, Right: After the make-over.
Actually I wanted to use a ER32 collet to mount the break pedal (yellow) to the milling machine for painting… Sanity made me use the lower half of a machine roll support. Color: RAL 1023 traffic yellow.

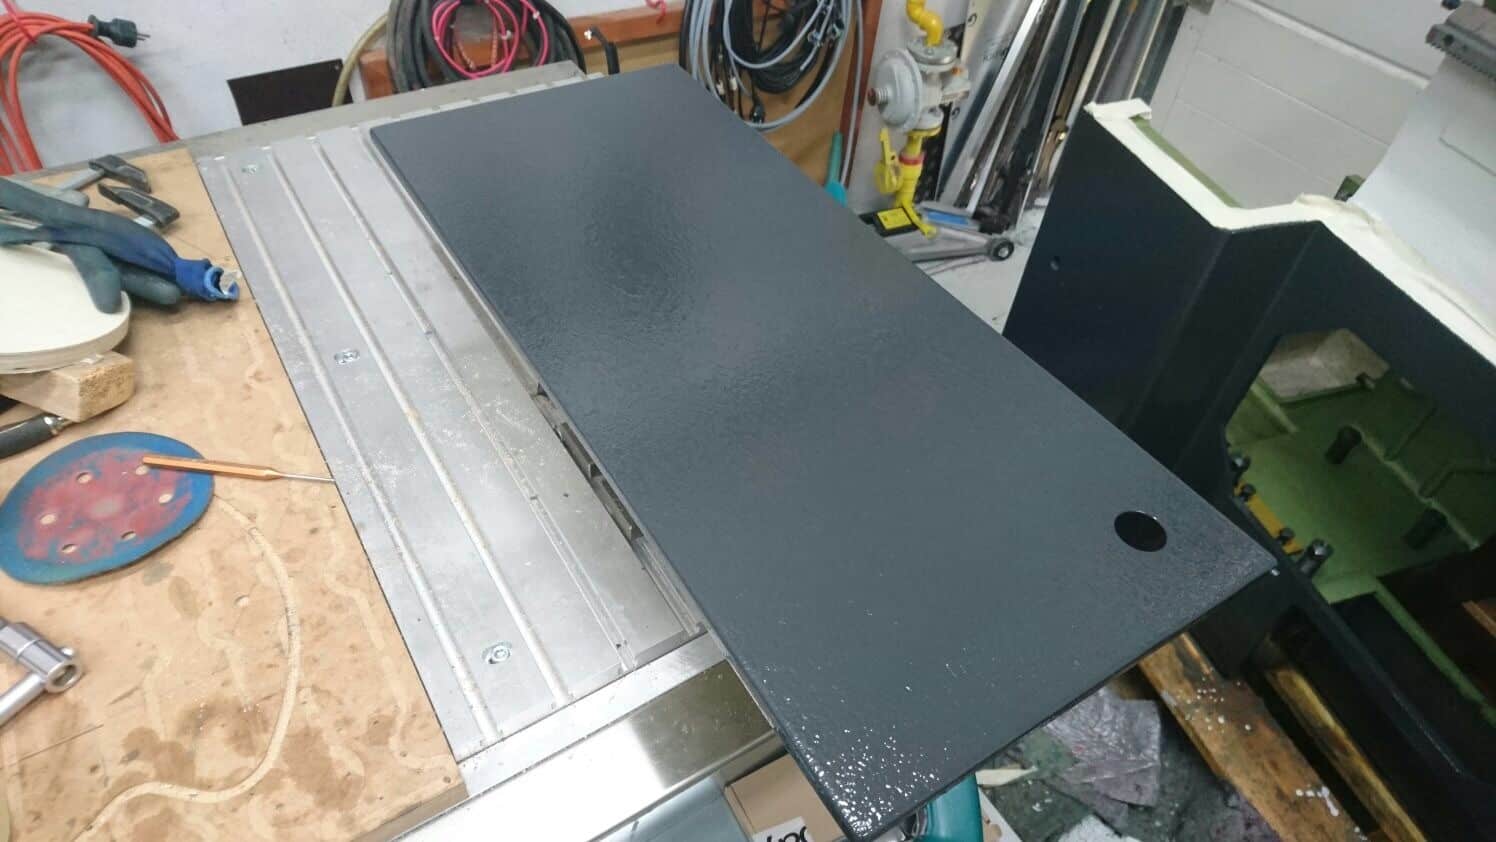
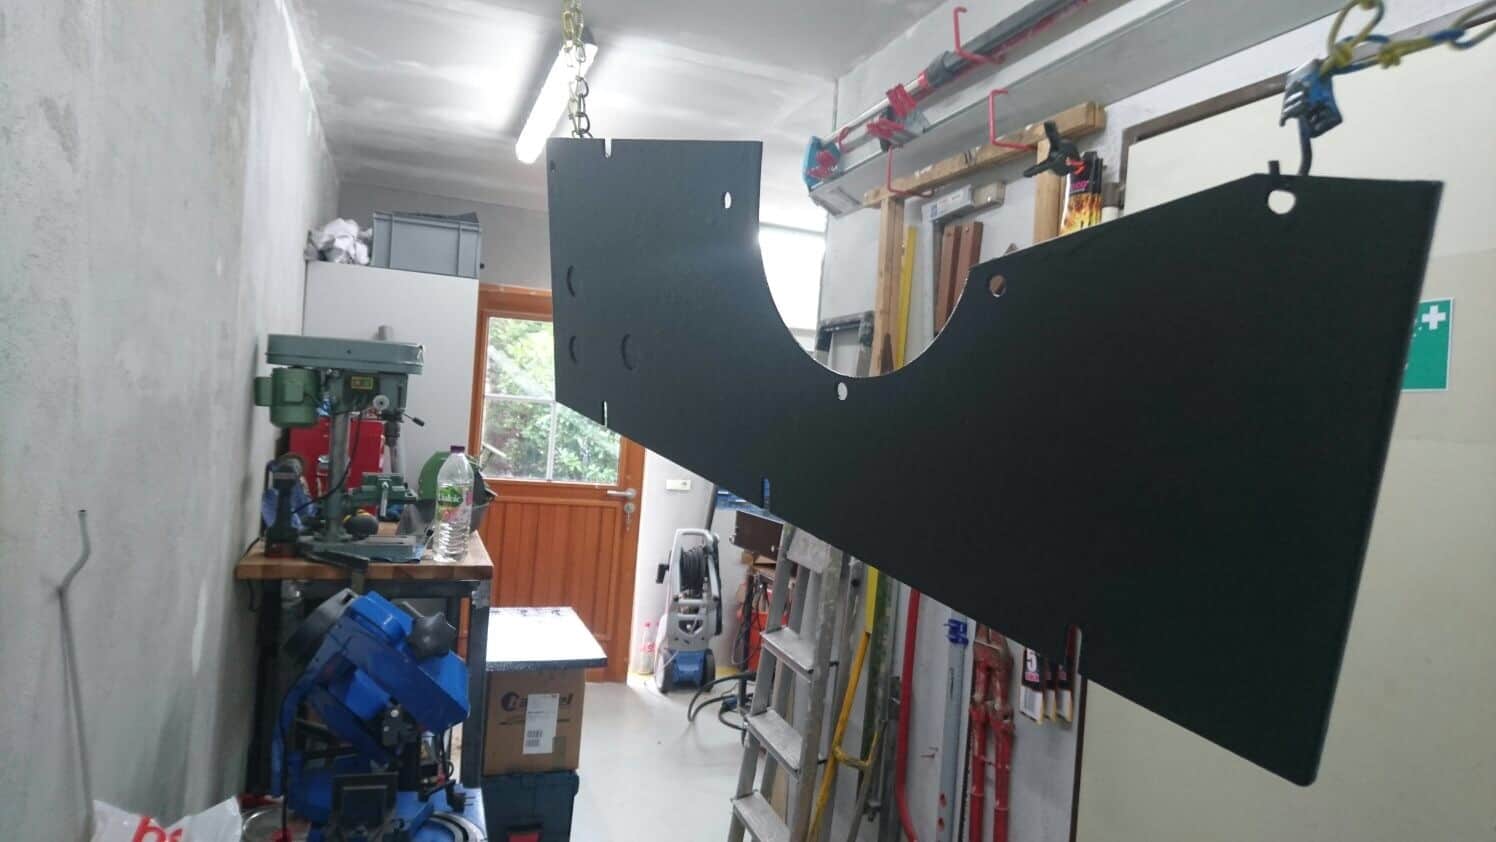
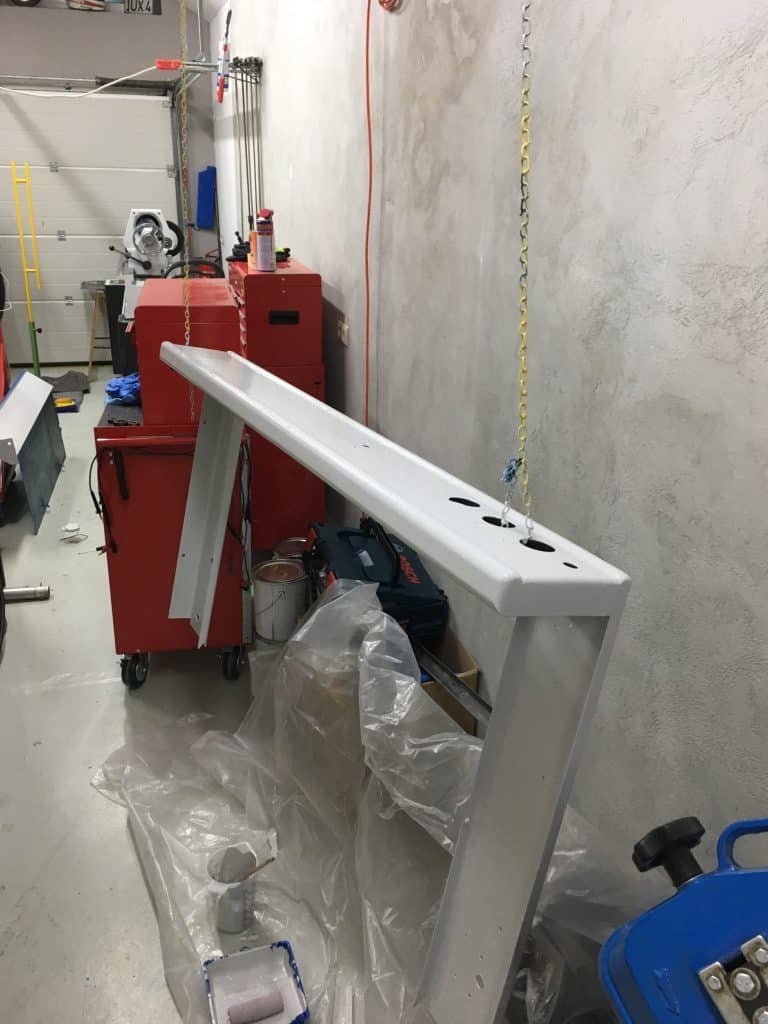
The last bigger sheet metal parts have also been painted. No idea why I did not spent the additional hours to remove all the small dents as well… Next time.
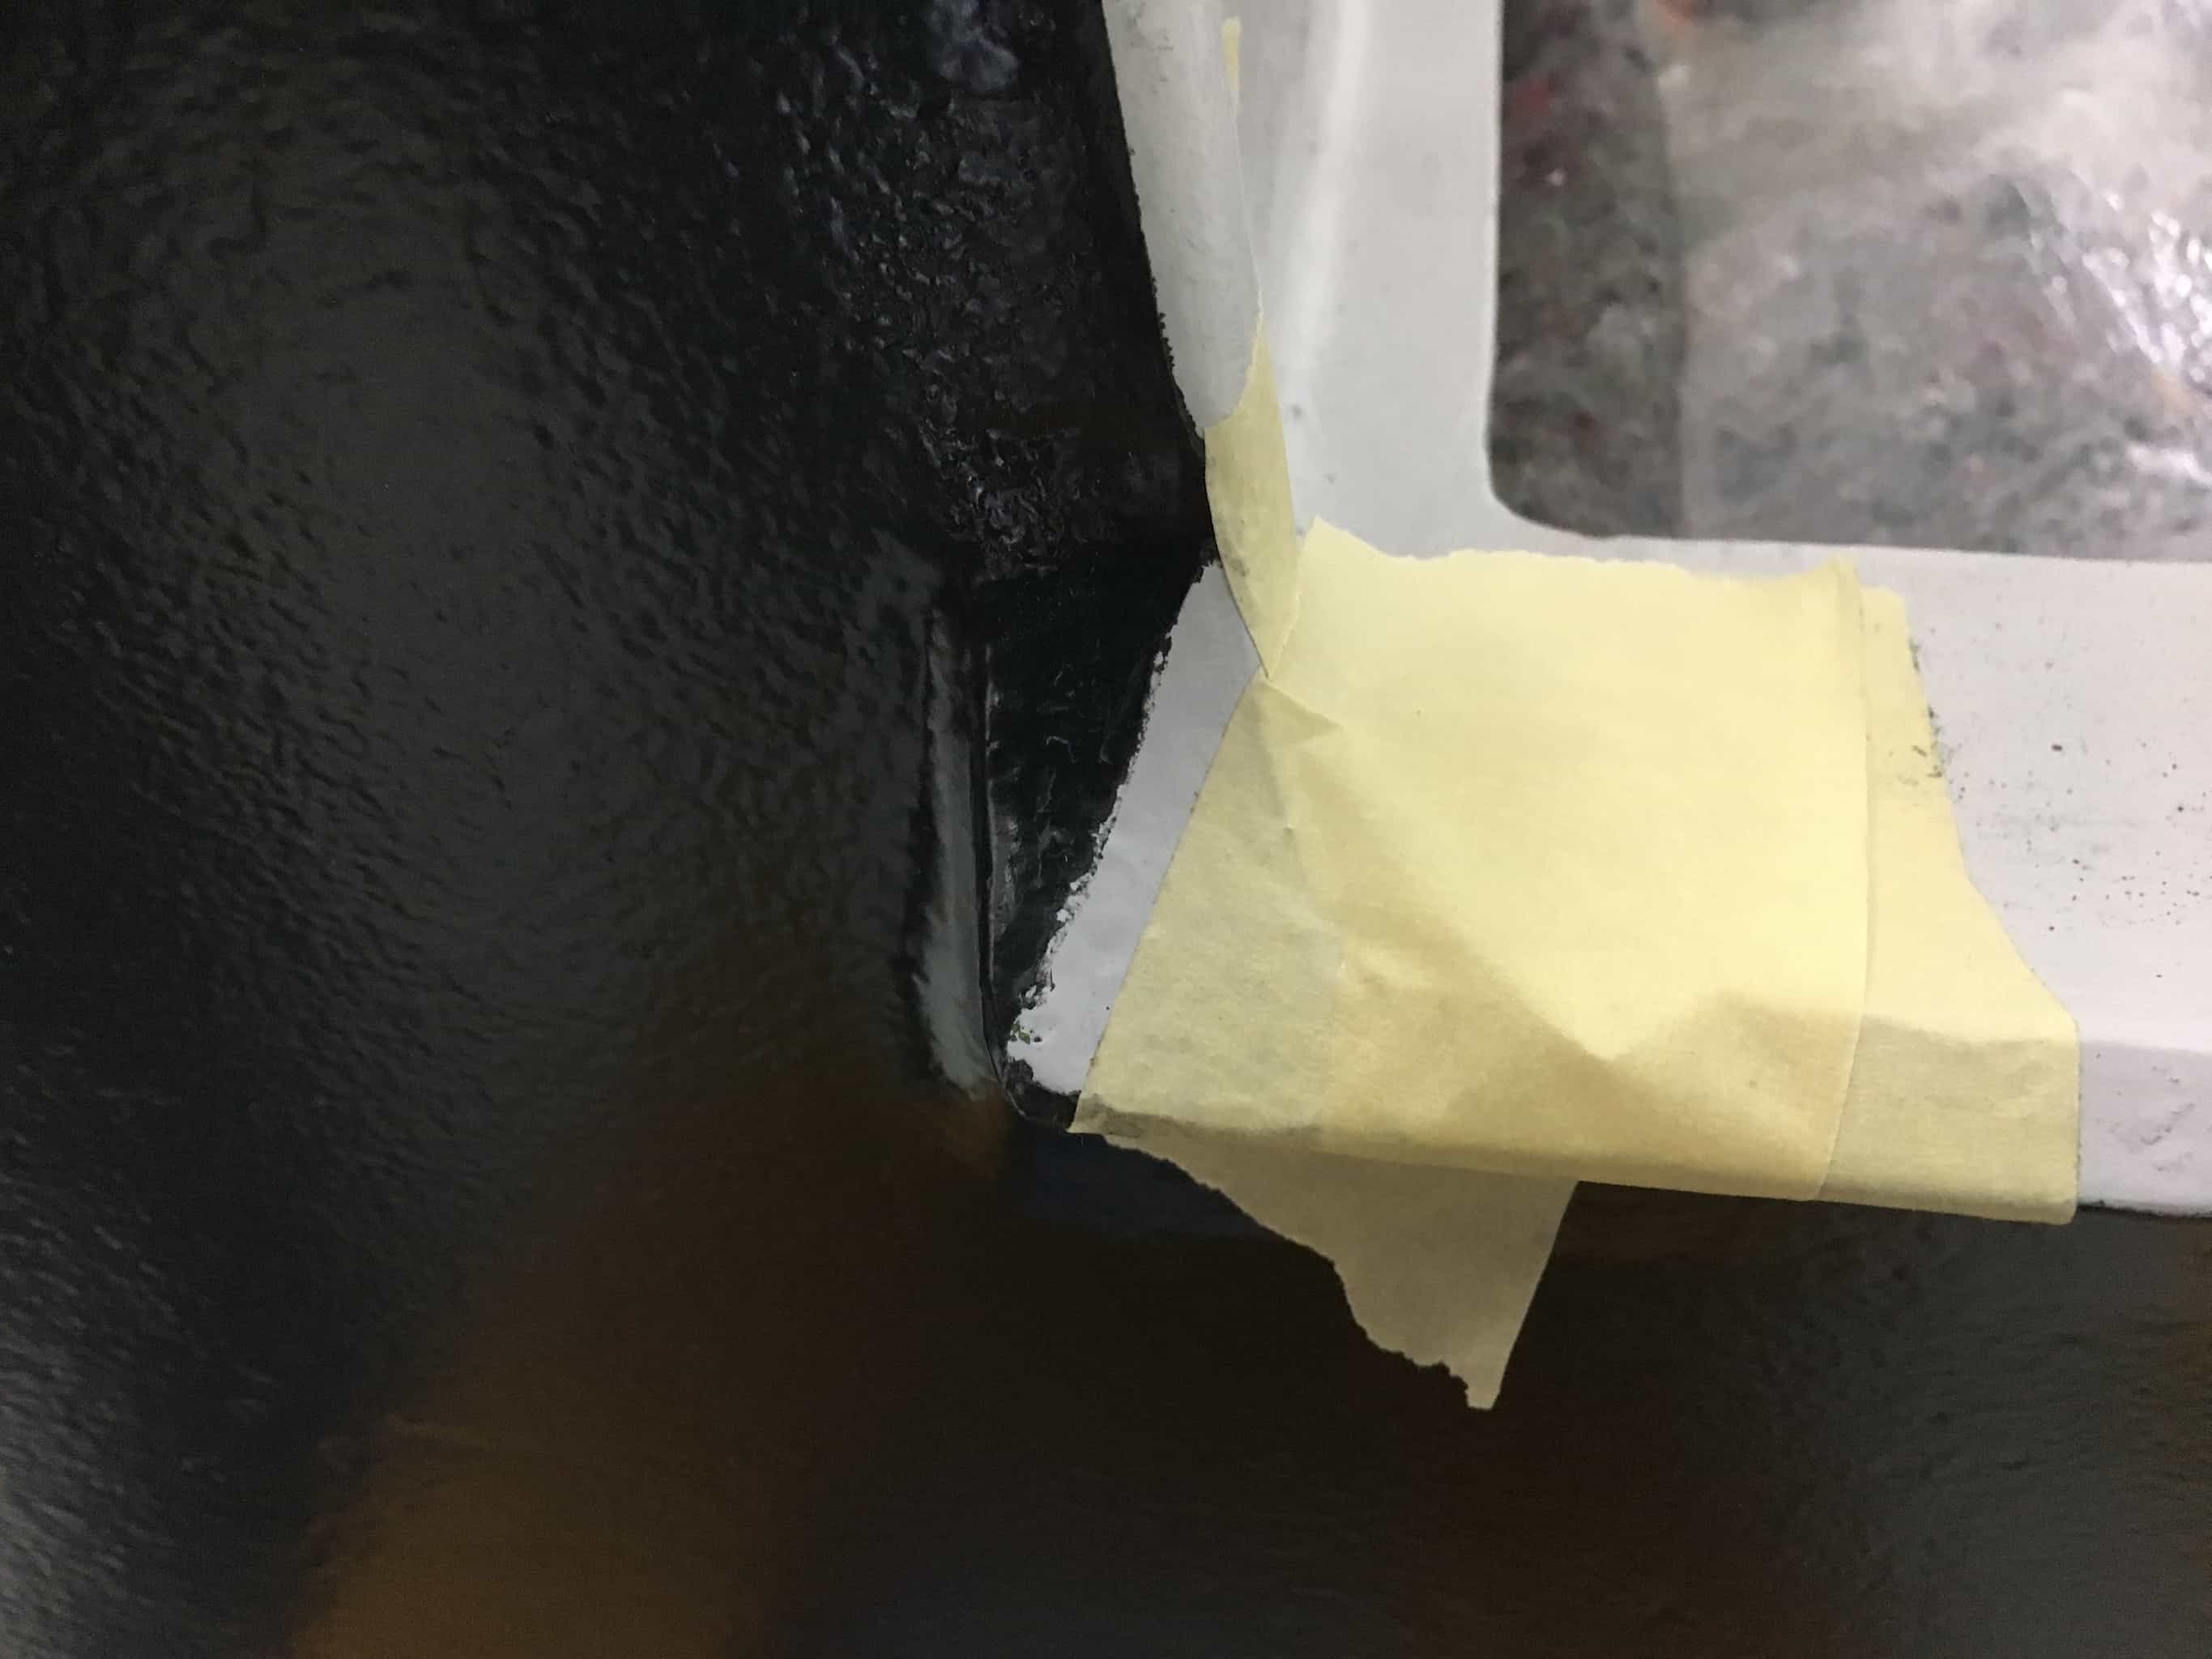
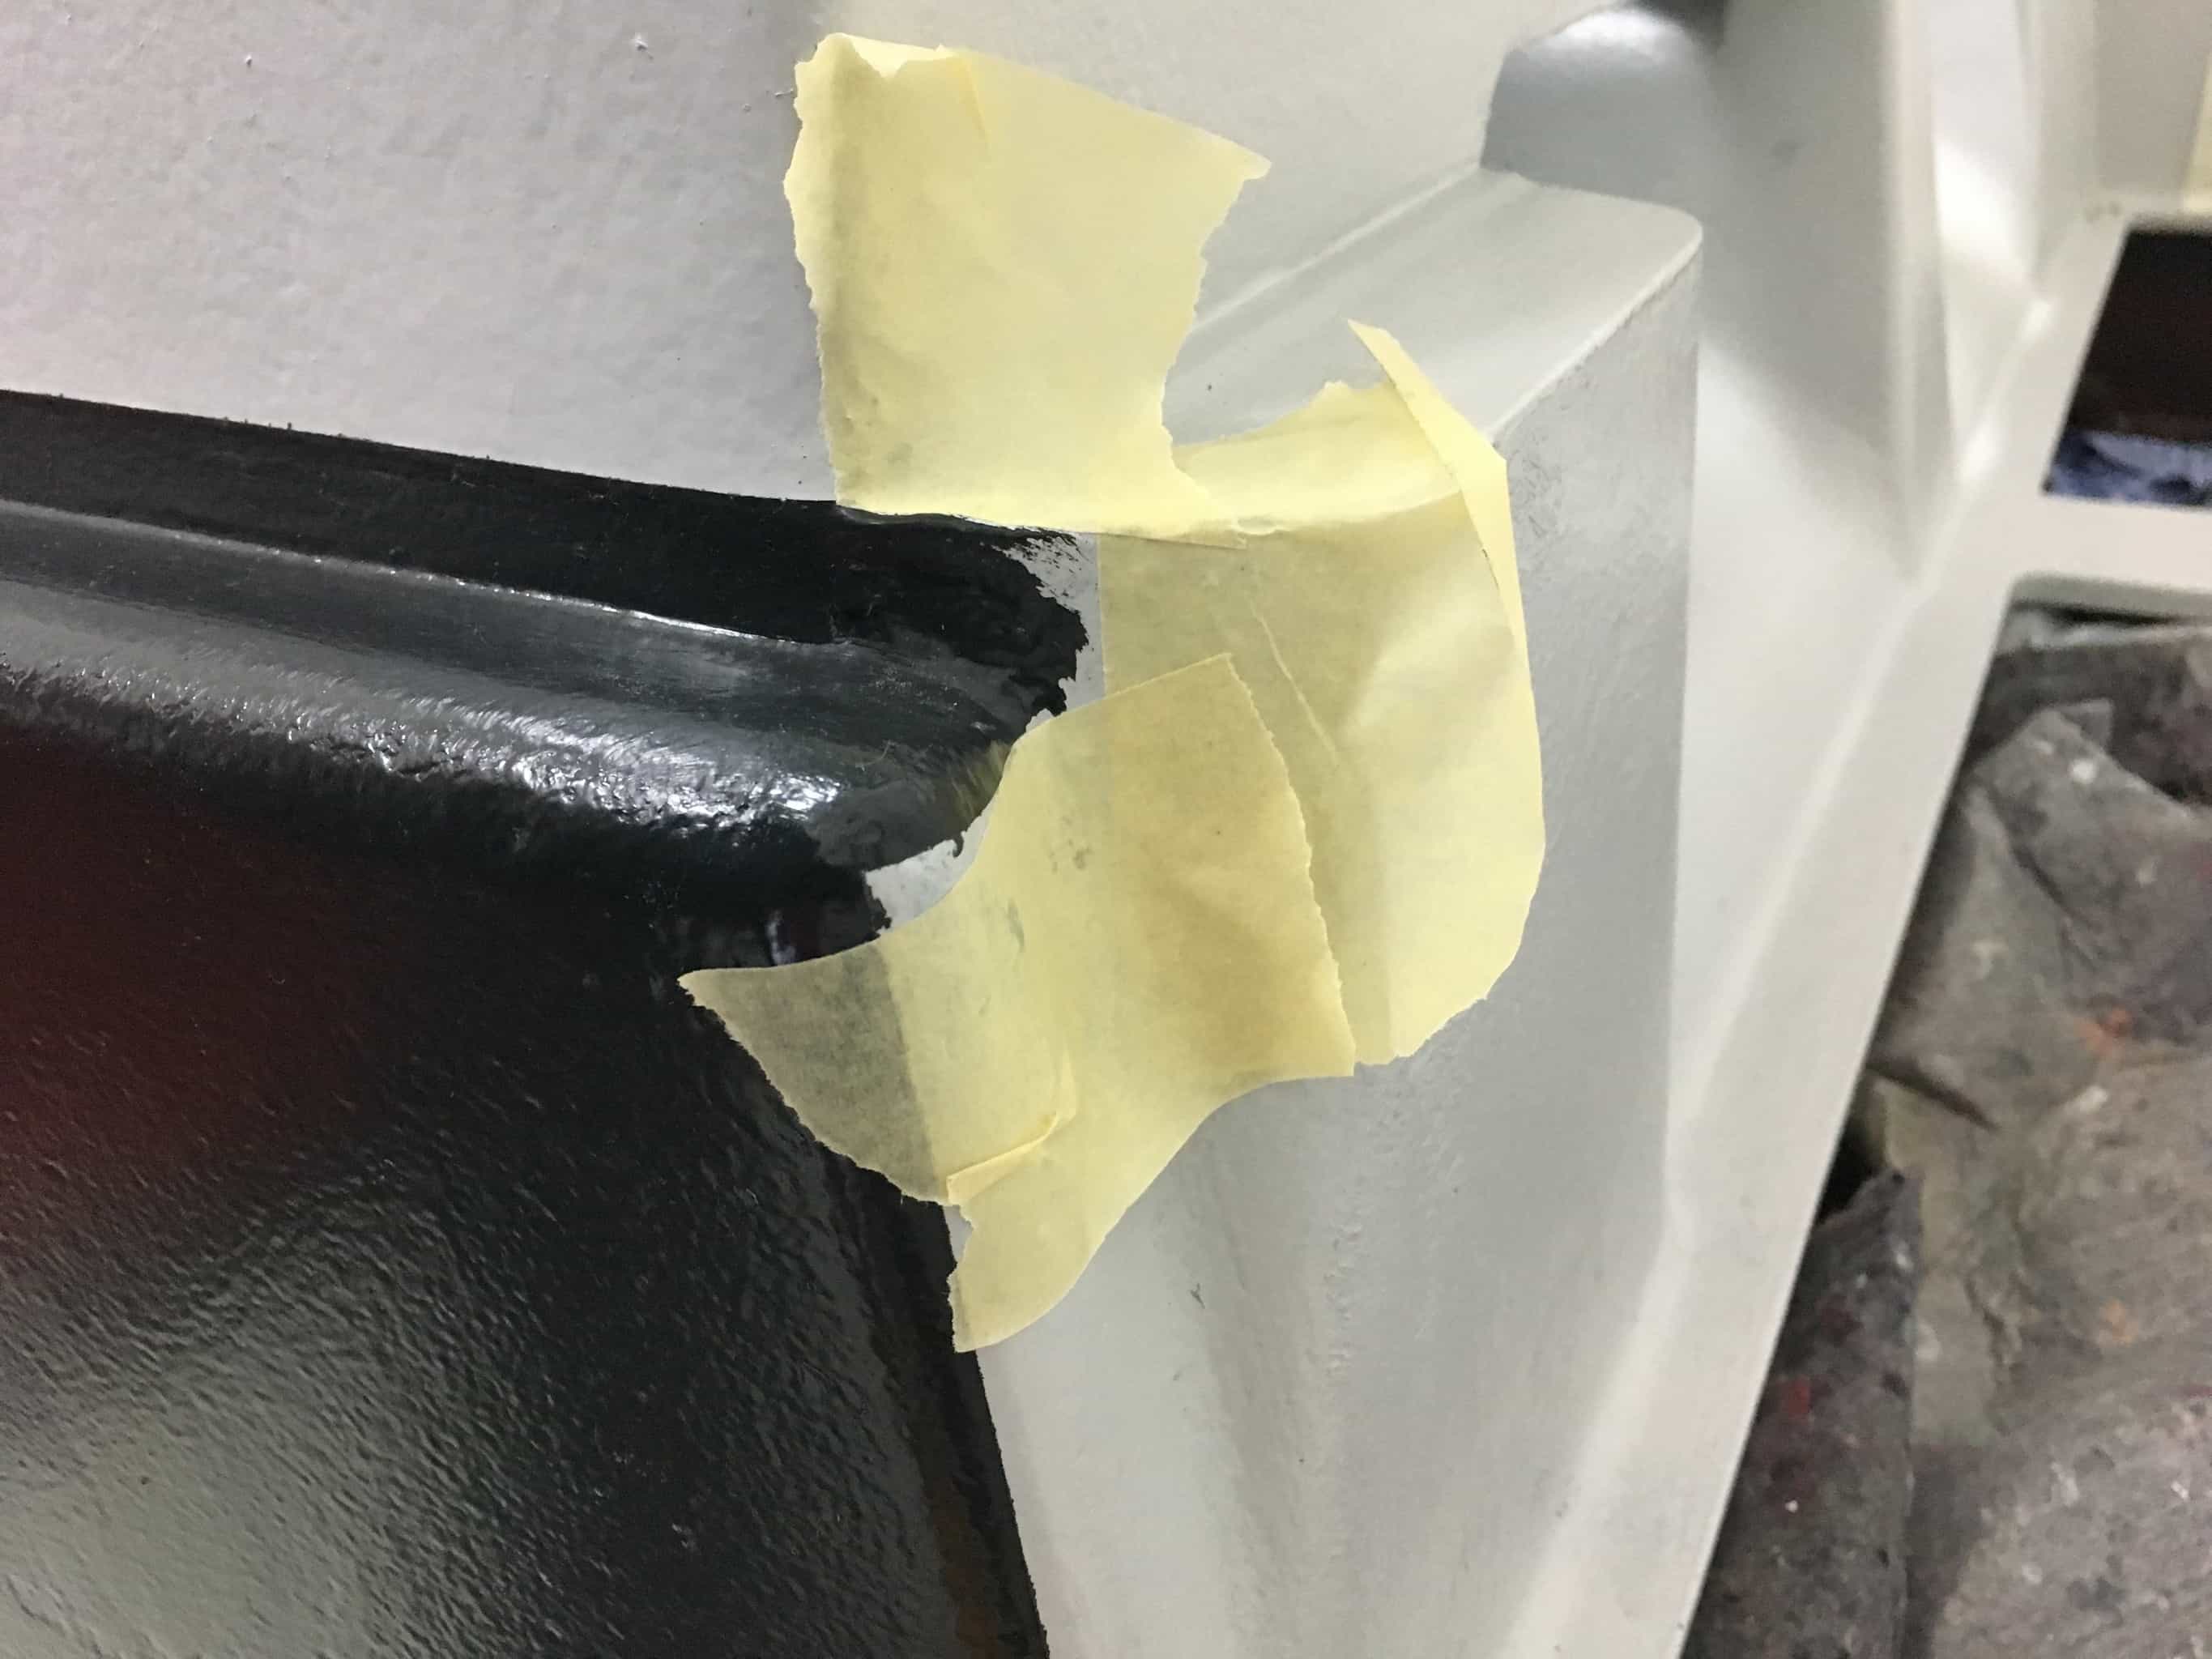
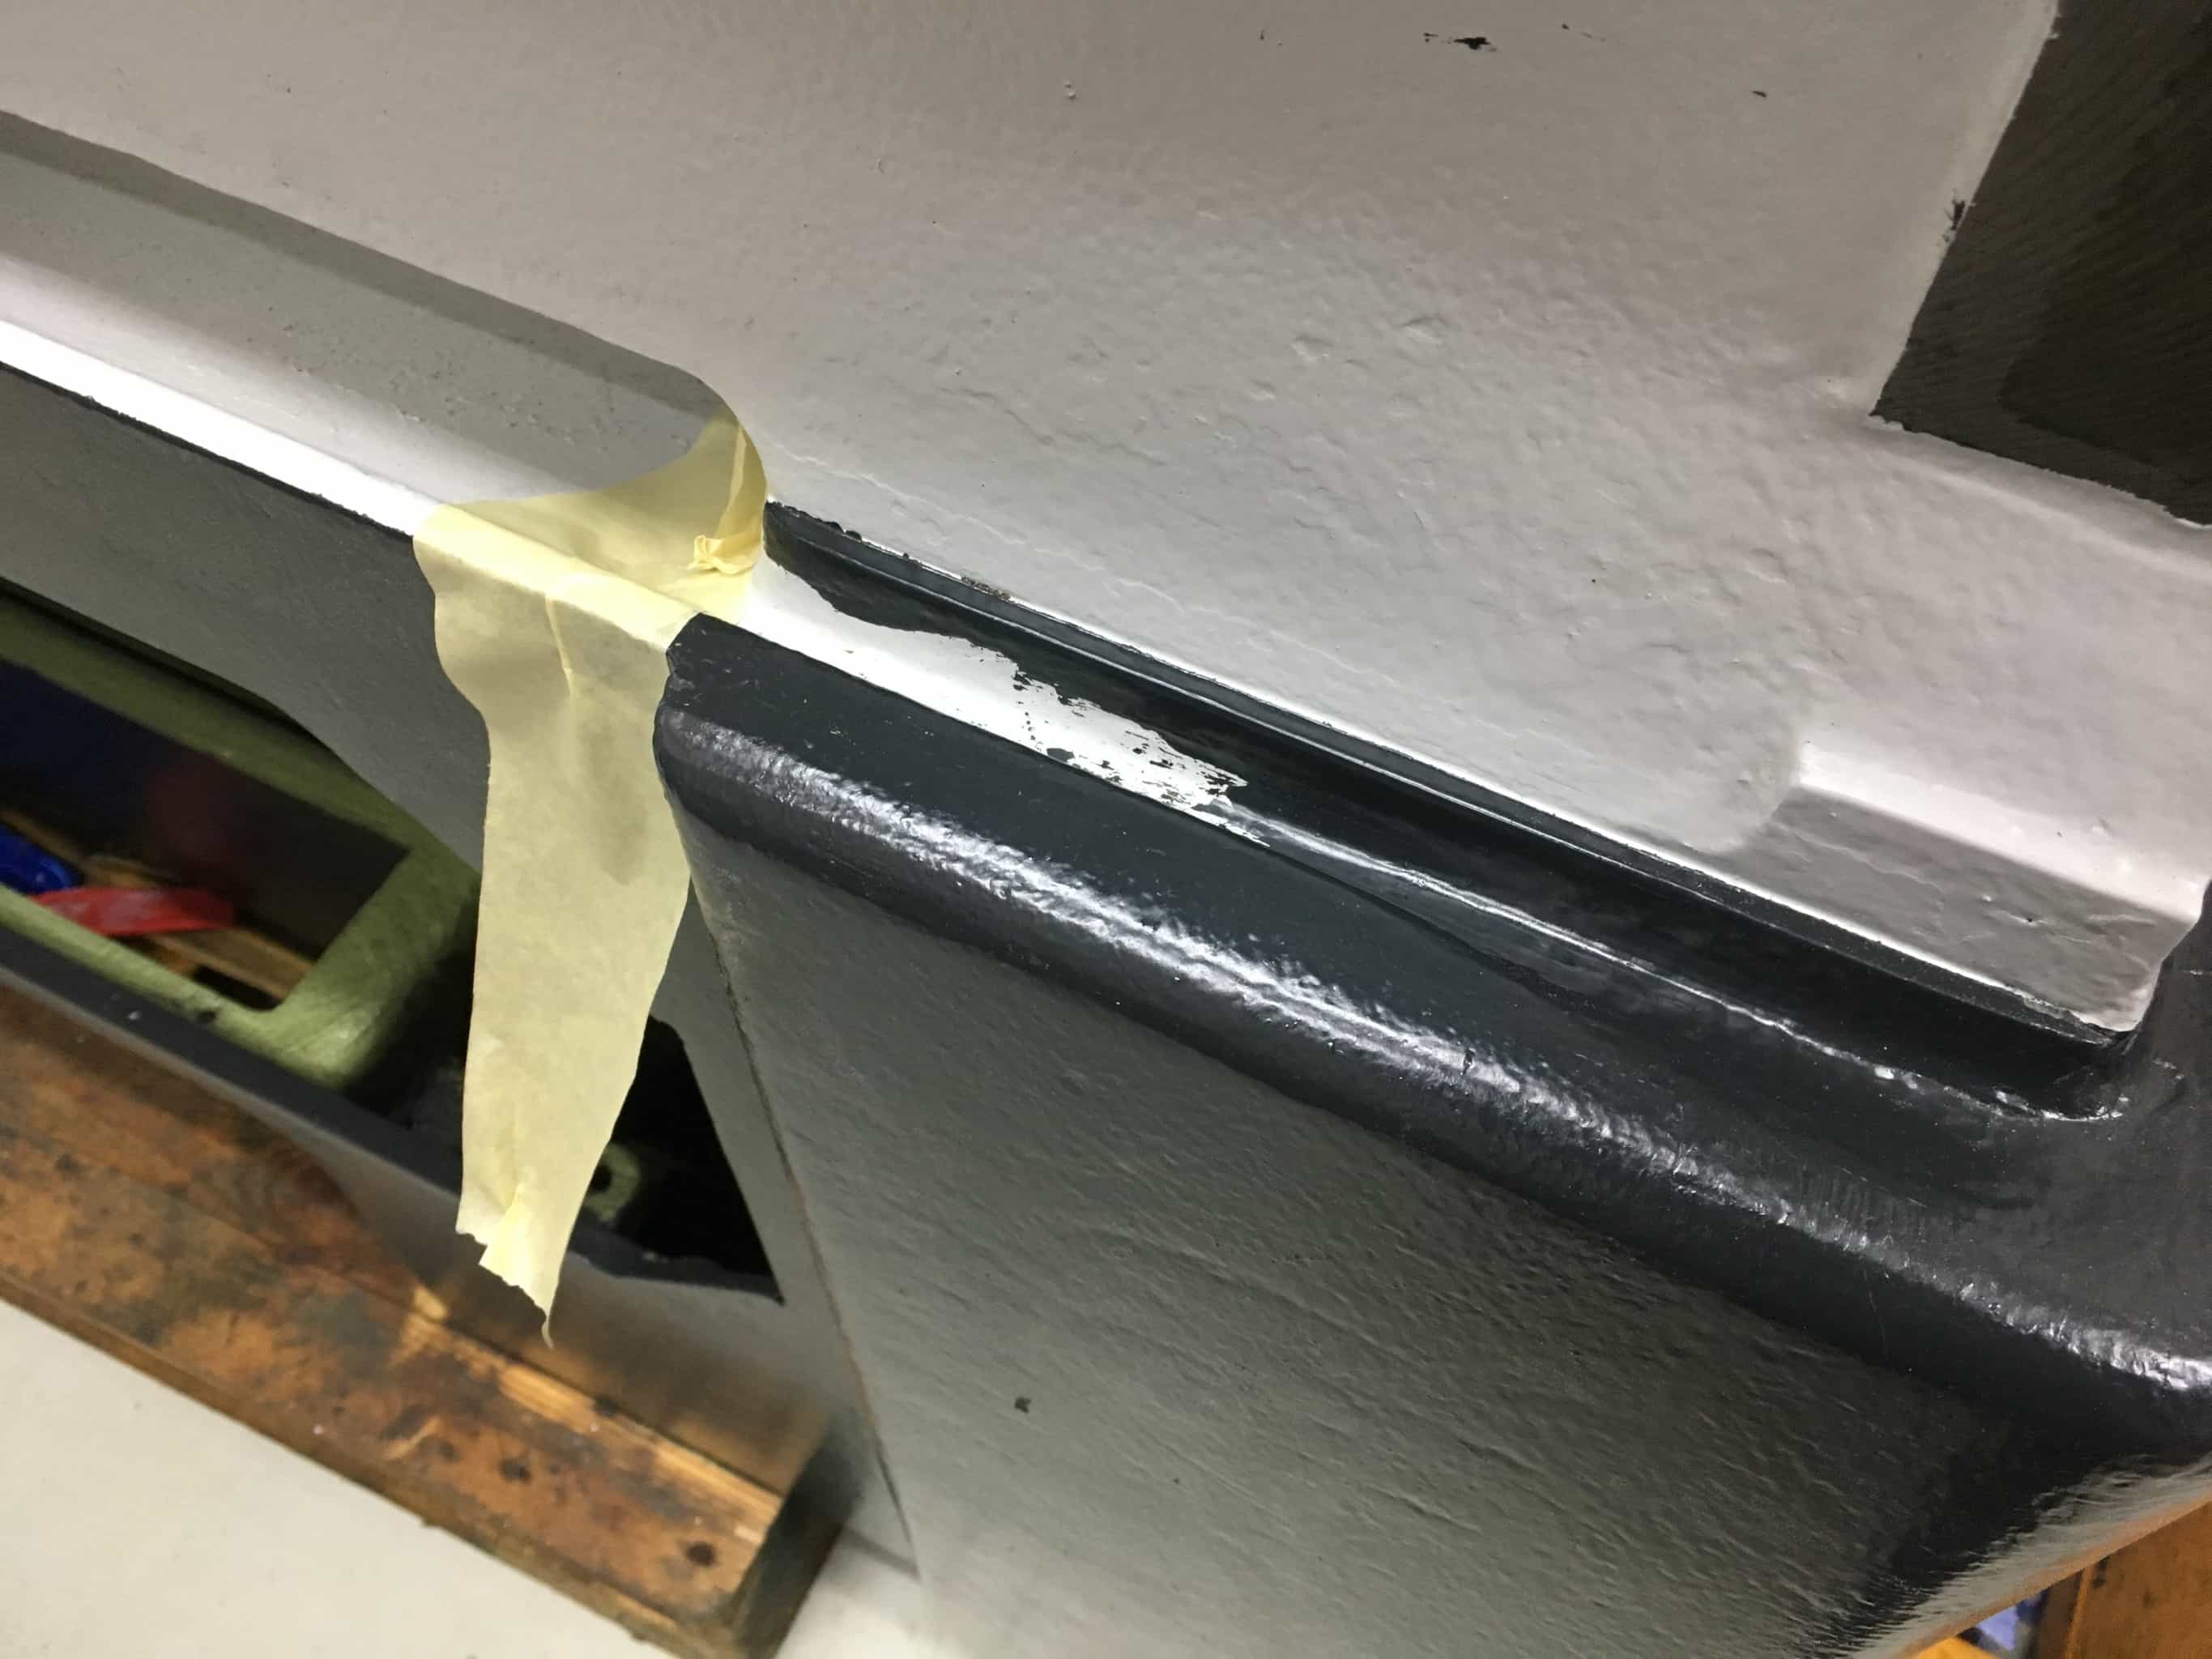
Perfectionist alert! Some of the intersections in the paint job did not look perfect, so I decided to fix them. Later on I realized that some areas will later on not even be visible… At least now I know why the original color scheme of most machines are single color only!
Sneak preview. This is what the machine look as of today.
Next step: Painting the apron. Unfortunately technical difficulties (residual oil on the part) made us remove the paint again (Acid/Acetone/Nitro).
Spare parts
For quite some time I have successfully dodged the most expensive single order of spare parts… 7 bearings for a little under 350 Euro of which 3 bearings are 70 Euro each. As we have found no alternative supplier we had to go for this offer…
Bad idea…
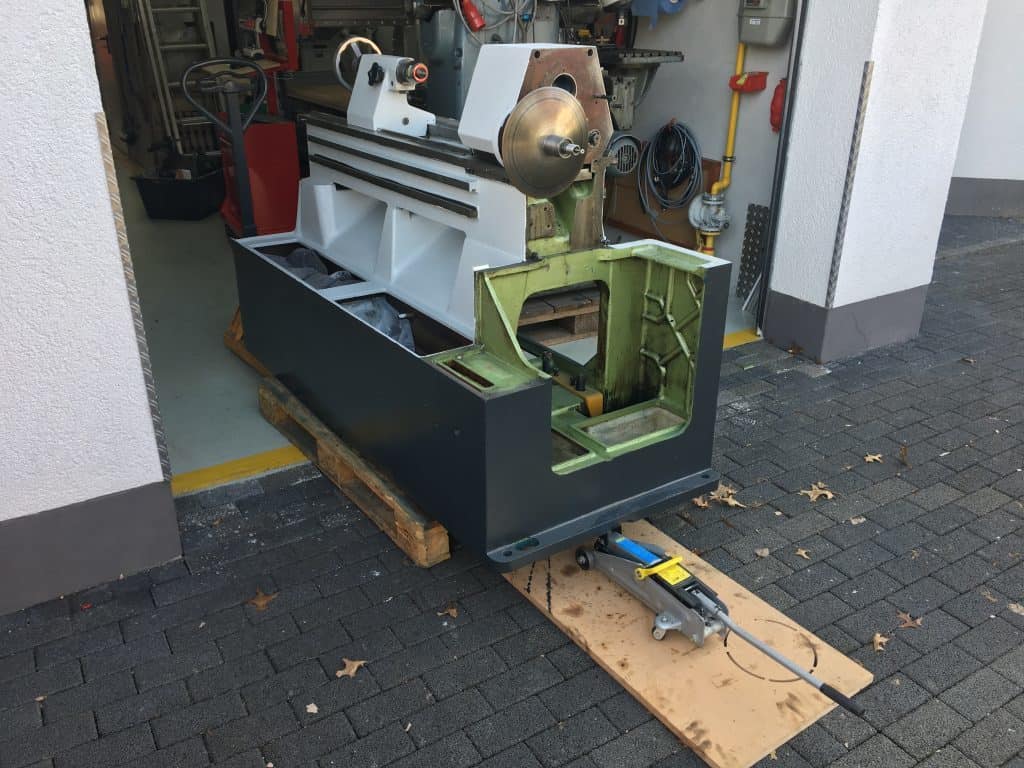
Slowly the workshop, which is actually a regular sized garage with a small work bench area at the end, is filling up. To clean the shop floor I had to maneuver the lathe outside on to the driveway – no big deal as it currently still rests on a Euro pallet. Nevertheless the problems started an hour later, when I tried to move the lathe back into the shop… in the meantime the point load of the lifting car has dented the pavement and I could no longer move the 1.3 tons into the shop.
It took me more than an hour and a hydraulic lifting jack to move the lathe again. Lessons learned. I need my own forklift…
Assembly
Coming up soon
Thoughts
In the meantime we have collected some thoughts and ideas around how to use the lathe in the future.
Corrosion
Some of the defects we found on the machine can be traced back to idle time. Corrosion in the apron (i.e. the bearings) for example was caused by cooling lubricant getting trapped inside the apron and slowly separating the oil from the water component. Water being heavier sinks down and the oil floats on top.
We will later on seal the apron with a liquid surface seal and change the oil on a regular schedule. Also we plan not to use flood cooling any time soon.
Oil leaks
The machine has a quite sophisticated hydraulic system for controlling the main drive system (variomatic) and supply gearboxes, spindle bearings and lead screw with lubrication. Nice engineering but also a gazillion chances for defaults. After all there is a bout 35 liters of hydraulic oil in the machine.
Although all major seals have been replaced already we will place some rags underneath critical areas to indicate potential leaks immediately.
Location, location, location
Our shop is small and actually already too small for all the equipment we have.
Tooling
Slowly but surely we are gathering the necessary tooling for the late. eBay is quite a good source for high quality industry level tools and accessories.
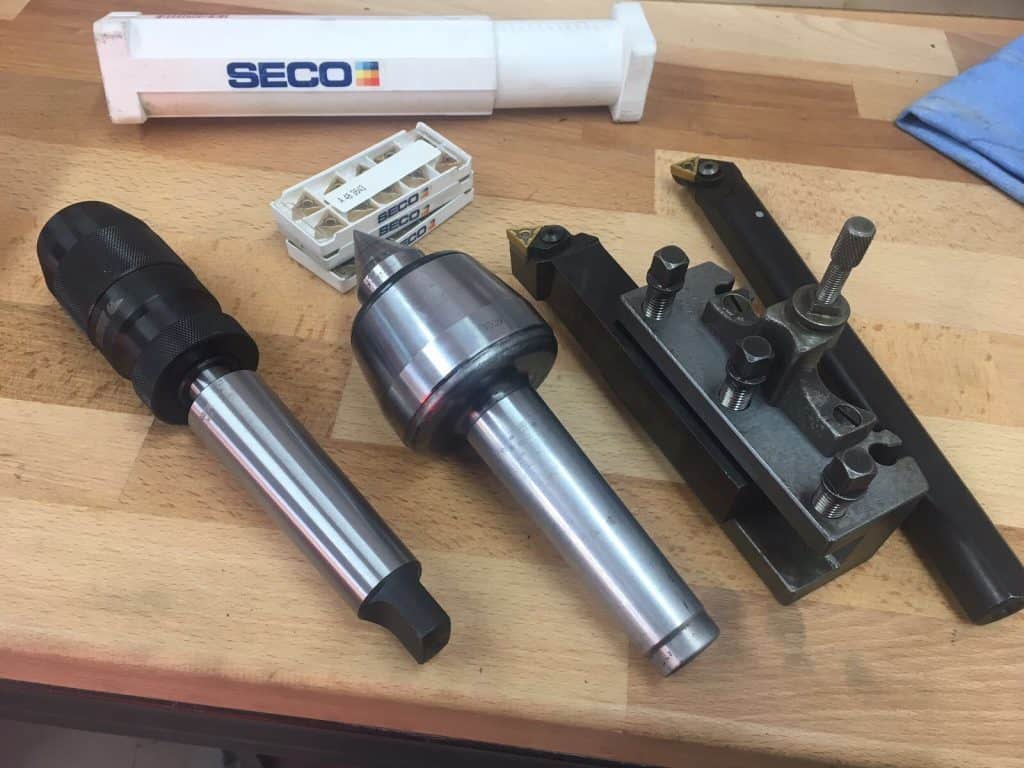
We may have a little advantage when it comes to tools which results in quite moderate prices on eBay. The size of our lathe is too big for most hobbyists and professionals will prefer to buy their tooling straight from the manufacturer or a proper vendor.
Now we need some more Multifix quick change tool holders in size B. Unfortunately the machine only came with one holder included. Proper holders in this size come at 70 Euro a piece.
Another coincidence has brought this nice old bench grinder to us. This quite solid machine came from Grandpa’s old carpenter’s shop and was previously used to sharpen drill bits and chisels.


Hallo andré
Sehr schöne Drehmaschine gratuliere.
Habe mich vor 2 Wochen auch eine HBX360 jg:1990 gekauft, aber leider fehlen mir jegliche Dokumentationen.
Hast du einen link oder Adresse von wo ich diese besorgen könnte?
Vielen Dank.
Freundliche Grüsse aus der Schweiz.
Reto Diriwächter
Hallo Reto,
danke! Der Umbau hat Fabian und mich auch eine Menge Arbeit gekostet. Wir müssen zwar nochmal an den Schlosskasten sowie die Spindelabdeckungen (Abdichtung) ran, ansonsten sind wir jedoch sehr zufrieden.
Ich habe dir ein paar Infos per Email geschickt – hoffentlich kommen die Anhänge durch, ansonsten melde dich nochmal bei mir.
Viele Grüße,
André
Hallo Andre!
Schöne Maschine deine Cazenueve! Kompliment!!
Du hast ja auch einiges daran gearbeitet!
Ich kriege demnächst meine Cazeneuve HBX360.
Was ich weiß ist: die Variomatik ist undicht…:).
Was ist denn Deine Erfahrung, kann man für die Dichtelemente entsprechende Normteile: WDR u. O-Ringe nutzen oder sind das Sonderanfertigungen u. es muß bei Cazeneuve bestellt werden?
Grüße
Fredi
Hallo Fredi,
wir haben damals die Dichtungen bei hydraulikdichtungen24.de anfertigen lassen, die originalen von CAZ sind wohl recht teuer (Wennauch der Service sehr hilfsbereit und flott ist!).
SONDERANFERTIGUNG K1 PU 46,00 X 54,00 X 8,00 MM 18,20 €
SONDERANFERTIGUNG K6 PU 58,00 X 68,00 X 9,50 MM 22,40 €
SONDERANFERTIGUNG K1 PU 80,00 X 90,00 X 13,50 MM 31,35 €
Beste Grüße und viel spaß mit deiner HBX
Fabian