Part 6 of our HBX360 rebuilding. Last weekend has brought us closer to completion once again.
[toc]Hydraulic system
All piping and return lines have been re attached. The wobbly PVC hoses have been replaced by higher quality fabric tube. Because we could not find all the required inner diameters (5 different ones on this machine) we had to heat treated and widen the ends a little bit. This should not be a big deal as the returns do not carry any pressure.
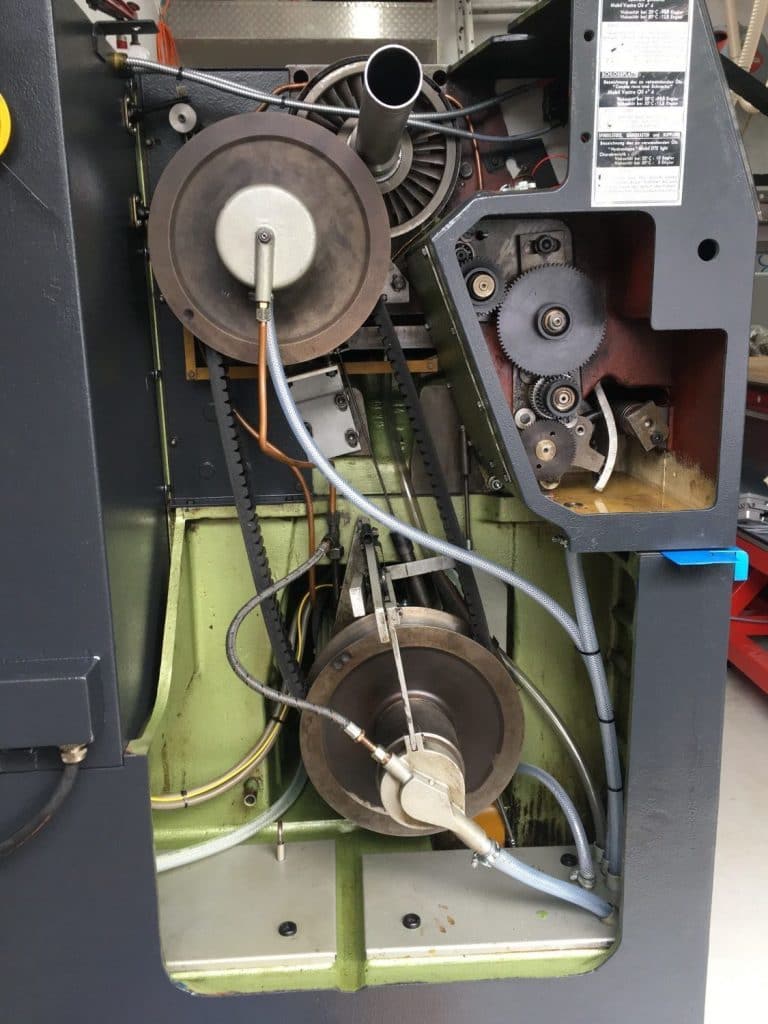
Done! All lines have been re-attached and already 20 of the total 35l hydraulics fluid was filled in again. We hand-crancked the pump for some time to check the system – no leaks! This I call a good result.
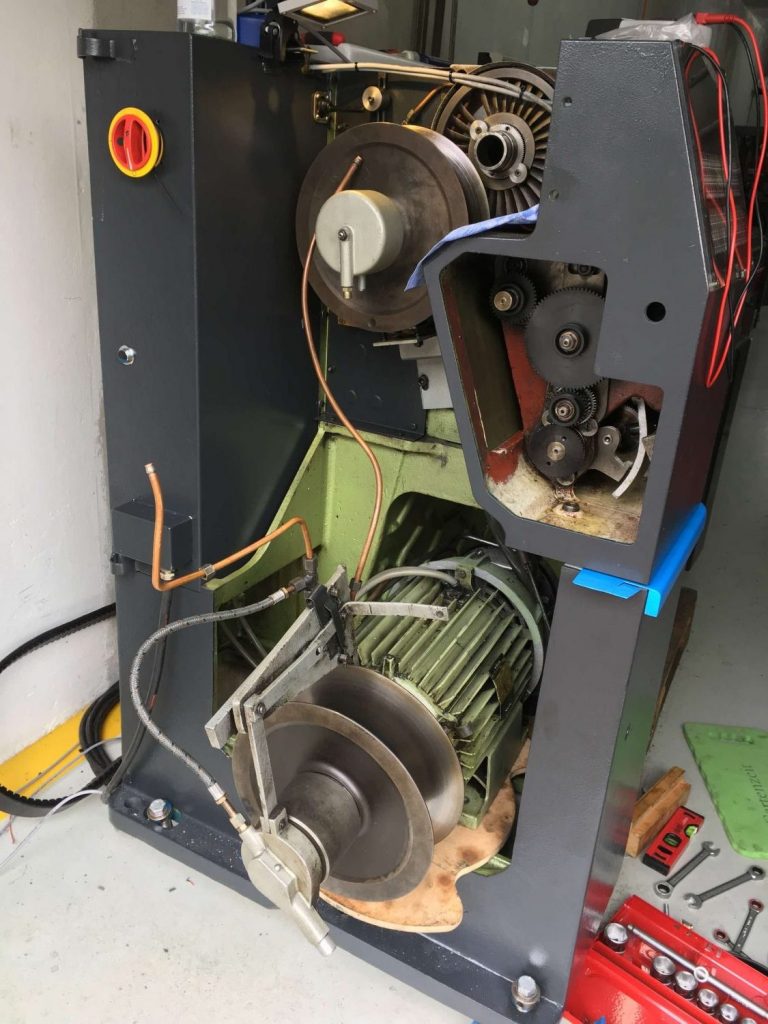
The start was not so easy. When re-seating the 40+ Kg motor it was mounted too high to fit the hydraulic pipes. The motor rests on 4 massive bolts so it can be aligned correctly.
Somehow I do not own a 29mm spanner (to be precise: There is a gap from 24 to 32 in my tool box) – so I had to take the motor out once again to lower its position.
Carriage apron & Cross slide
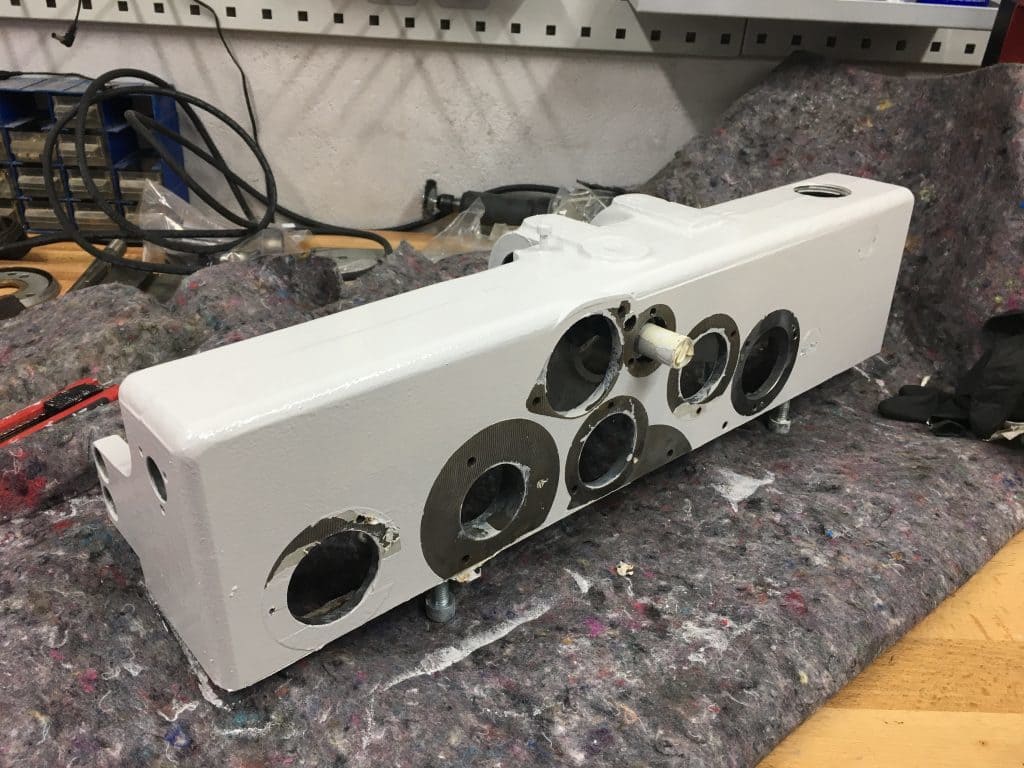
Freshly painted and still full of masking tape. We are still waiting for some parts before we can start re-assembling the apron gearbox.
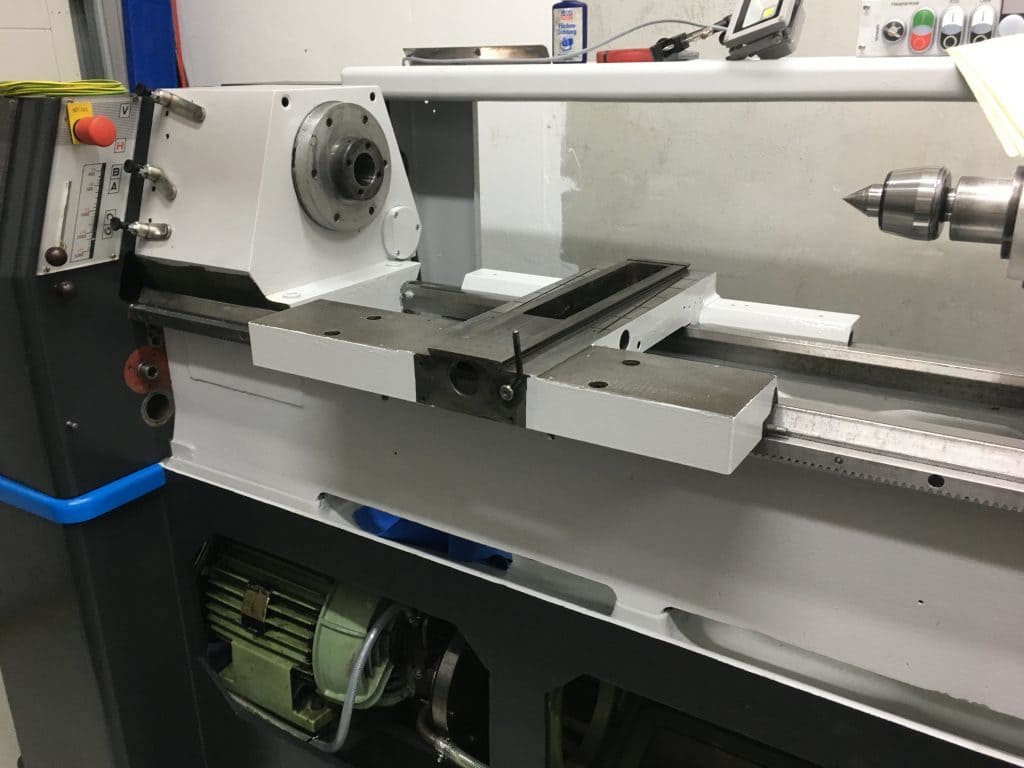
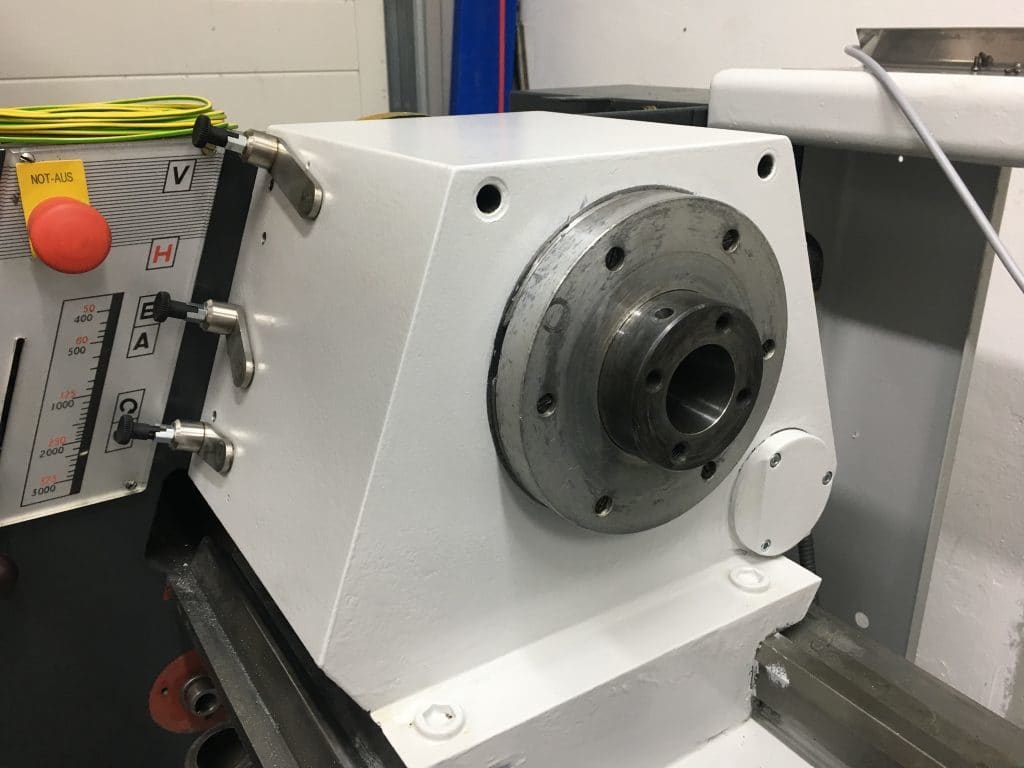
Headstock and cross slide body have also been coated with some fresh paint in RAL gray-white. The top of the cross slide body was intentional left blank as it will be exposed to a lot of chips.
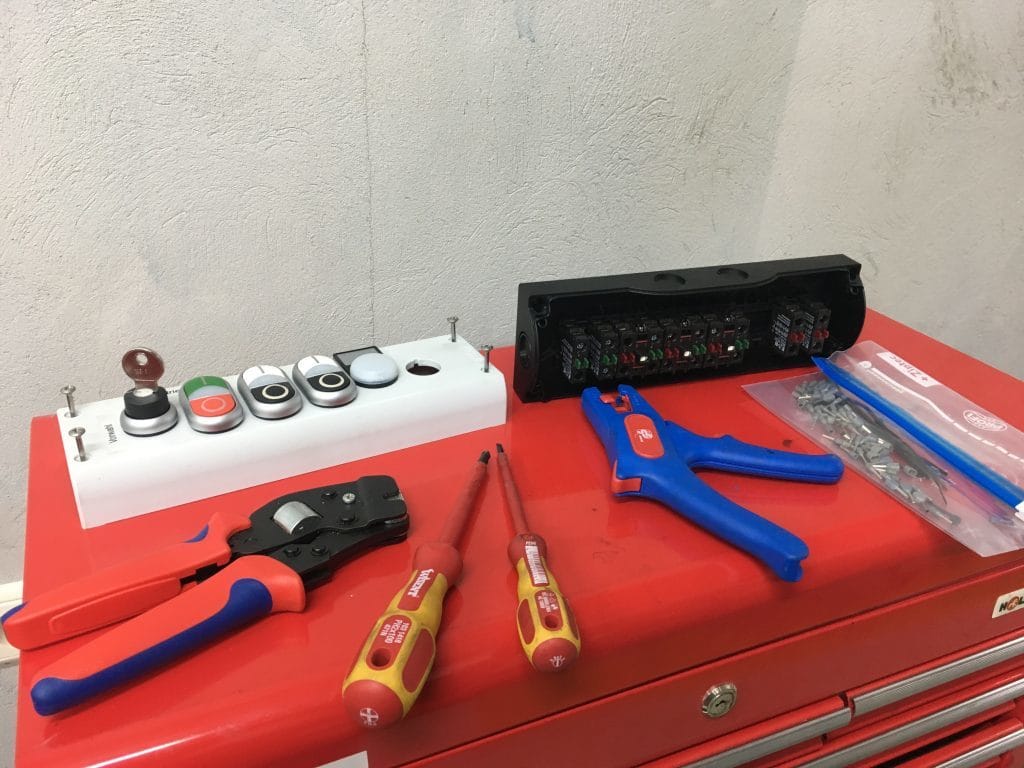
Control panel
I decided to take the control panel cabling job “home” to work on it during the evening. A more detailed article on the panel will be added shortly.

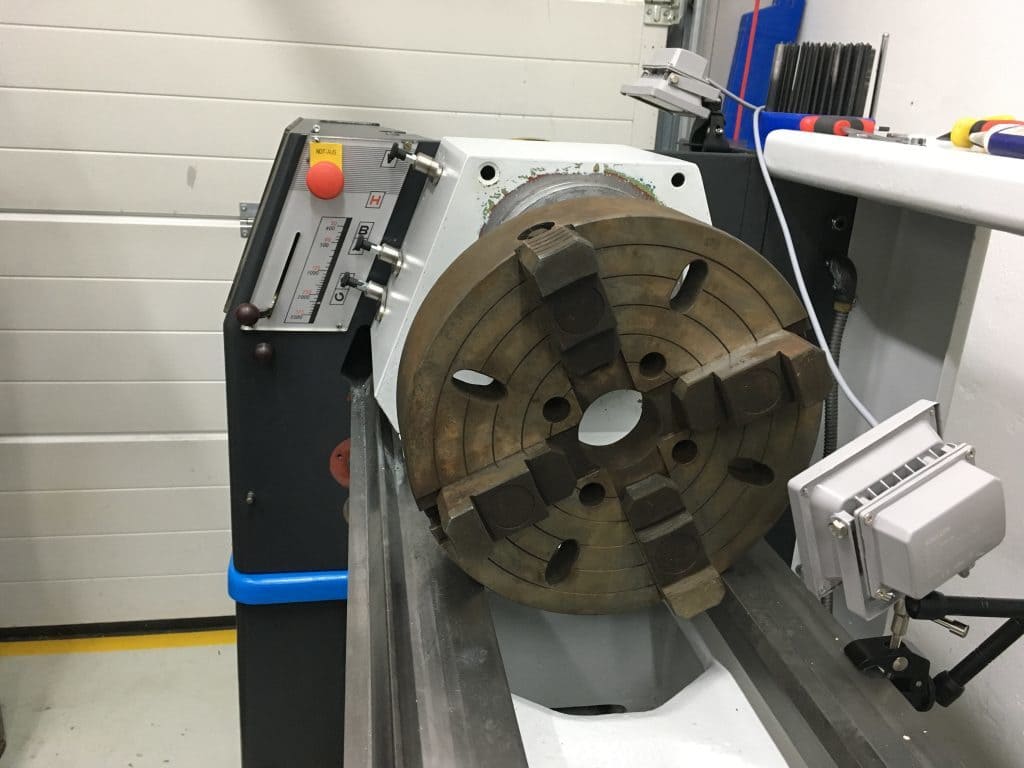
WMW 4 jaw Chuck
Well, 300mm is quite a chuck but with 180mm height of centers it still fits the machine quite comfortably.
The chuck has obviously not been in use much. A bit of cleaning and some grease later the chuck will look good as new.
14.05. – Another smaller 4 jaw chuck (160mm) will soon be added to the collection. For the moment this should be all we need to start production.
Next steps
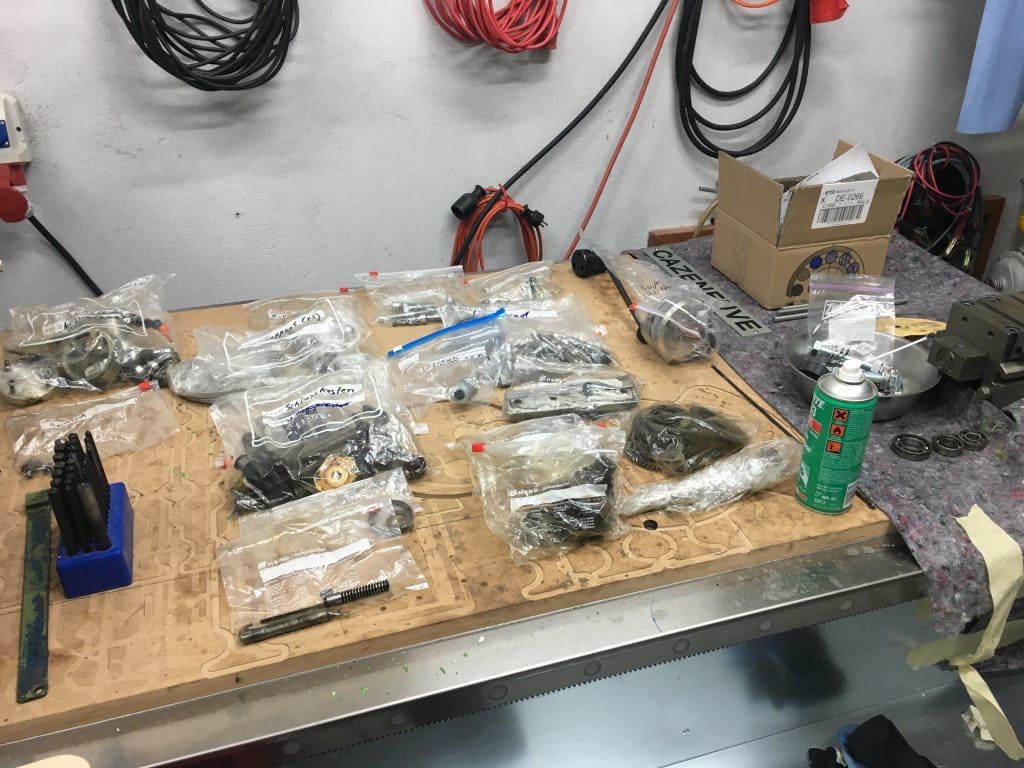
Still a lot of parts are packed in plastic and are waiting eagerly to be put back into place.
A short overview of what will happen next:
- Assembly of apron gear box
- Lead screw re-assembly and re-sealing the telescopic tubes
- Hooking up the new control panel
- Cleaning & Polishing of our new 4 jaw chucks
- And finally putting all sheet metal parts back and moving the machine to its final position


Hallo André
Wir haben im Betrieb ebenfalls kürzlich eine Cazeneuve 360 HB-X bekommen.
Als ich gerade die Inbetriebnahme durchführen wollte habe ich gemerkt das keine Dokumente über die Maschine dabei waren.
Könntest du mir vielleicht eine Kopie/ Foto des Maschinenhandbuches zukommen lassen? (Vor allem die Seiten über die Vorschubeinstellung)
Freundliche Grüsse und vielen Dank
Lennard.S
Hi Lennard,
ich habe dir eine Email geschickt.
Grüße,
André